
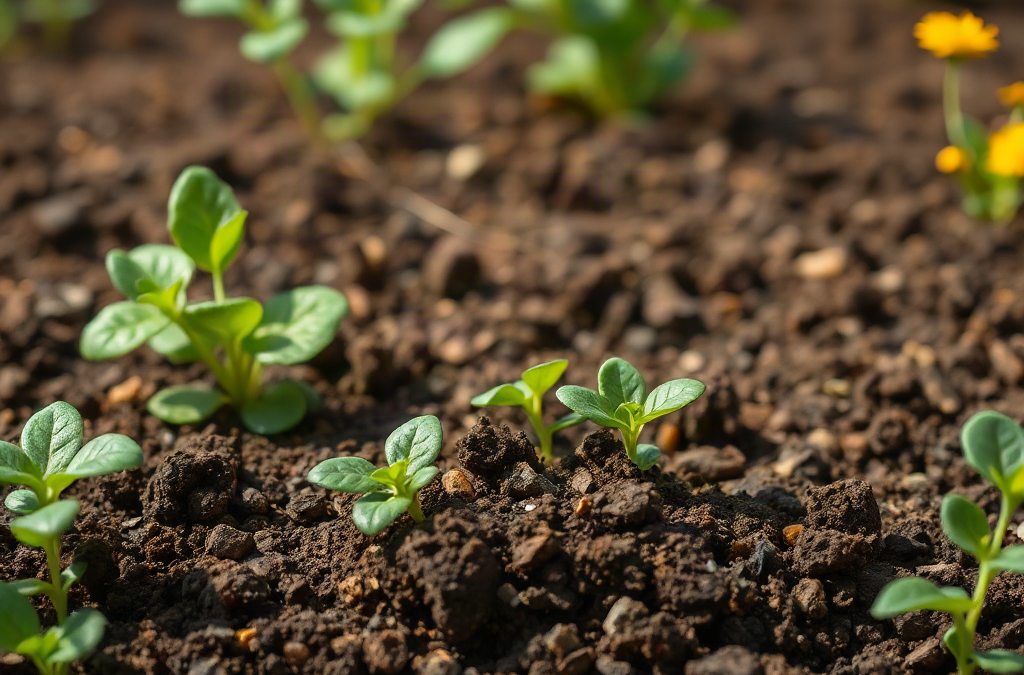
A reliable DIY garden soil blend for productive beds combines mineral soil, mature compost, and an aeration material in proportions suited to the existing bed rather than using potting mix alone. For a new raised bed, begin near 50 percent screened topsoil, 30 percent finished compost, and 20 percent pine fines, coarse mineral amendment, or another durable structure-building material. Mix the ingredients throughout the root zone, confirm that water drains without disappearing immediately, and test pH before adding lime or fertilizer. Reduce compost when phosphorus is already high, avoid uncomposted manure, and judge the blend by moisture retention, crumb structure, settling, and root growth during the first season.
Choose Ingredients by Function, Not Reputation
A productive bed needs a stable mineral framework, biologically active organic matter, connected pore space, and enough nutrient-holding capacity to support repeated harvests. No single bagged ingredient supplies all four reliably. Native mineral soil gives the blend weight and long-term structure, finished compost contributes decomposed organic matter and nutrients, while coarse particles preserve spaces through which water and air can move.
Screened topsoil is useful when it contains actual loam or sandy loam rather than mostly composted wood. Rub a damp sample between your fingers: a suitable mineral component feels slightly gritty and forms a weak ribbon, but it should not behave like sticky modeling clay. Ask bulk suppliers what the material contains and inspect it before ordering. The label “garden soil” does not reveal texture, salinity, weed pressure, or the amount of undecomposed material.
Finished compost should smell earthy, appear dark, and contain few recognizable feedstocks. Compost that remains hot, smells strongly of ammonia, or contains abundant fresh chips is not ready for direct use around roots. Manure-based compost can be nutrient-rich, but repeated heavy applications may raise phosphorus or soluble salts. Yard-waste or leaf compost often supplies organic matter with a less concentrated nutrient load. A soil test is more dependable than assuming every bed needs another thick layer.
The structural ingredient should solve a specific physical problem. Pine fines and small composted bark particles provide durable pore space while decomposing gradually. Pumice, expanded shale, or coarse perlite can increase aeration, although availability and cost vary. Fine sand is a poor default amendment for clay-rich material: modest quantities may fill existing pores without meaningfully changing texture. A large volume of coarse mineral material would be required to alter heavy clay, so adding organic matter and protecting the surface from compaction is usually more practical.
Peat moss and coconut coir retain water but contribute little fertility. They can be useful in a shallow, fast-drying bed, yet neither should dominate an outdoor blend. Peat can be difficult to rewet after drying, while coir quality and salt content vary by source. The better question is not which ingredient is universally best, but which missing function the bed requires. That same principle should guide any future adjustment to a DIY garden soil blend for productive beds.
Set a Starting Ratio for the Type of Bed
A starting ratio should reflect the bed’s depth, connection to native ground, local rainfall, and the texture of the available topsoil. For a new raised bed with ordinary screened loam, a practical volume-based starting point is 50 percent mineral topsoil, 30 percent mature compost, and 20 percent structural material. This is a working formula rather than a universal prescription; ingredient texture matters more than mathematical precision.
An in-ground bed usually needs amendment rather than wholesale replacement. Spread roughly one to two inches of mature compost over the surface and incorporate it lightly into the upper several inches only when the ground is first being established or severe texture differences need correction. Afterward, top-dressing is less disruptive. Repeated deep tilling breaks aggregates, brings dormant weed seeds upward, and can create a compacted boundary beneath the worked zone.
For a tall raised bed, filling the entire depth with premium blend wastes money and can produce excessive settling. If the bed is deep enough that vegetables will use only the upper portion intensively, sound native soil or a lower-cost mineral fill can occupy the bottom, provided it drains and is free of construction debris, persistent weeds, and contaminated material. Keep the most consistent blend in the upper 10 to 12 inches where annual vegetable roots and transplant root balls begin developing. Do not use a sealed layer of gravel at the base; an abrupt texture boundary may hold water above it rather than improving drainage.
Adjust the starting ratio according to recognizable constraints:
- Dense, slow-draining loam: use less of the dense topsoil component and more coarse, stable structure material without turning the bed into a lightweight potting mix.
- Very sandy mineral soil: increase finished compost modestly and use mulch to slow evaporation rather than relying on frequent shallow watering.
- Hot, dry exposure: include a water-retentive component, but preserve enough mineral soil to prevent rapid drying and shrinkage.
- High-compost commercial mix: blend in tested mineral soil instead of adding more compost simply because the bed settles.
Calculate volume before buying. Multiply bed length by width by fill depth, using the same units, then convert cubic feet to cubic yards by dividing by 27. A 4-by-8-foot bed filled 12 inches deep holds 32 cubic feet, or about 1.19 cubic yards before settling. Buy a modest allowance for consolidation, but do not intentionally mound loose material far above the rim. Comparing ingredient volumes in cubic feet also prevents a common mistake: treating equal numbers of bags as equal proportions when package sizes differ.
Mix, Moisten, and Fill Without Creating Layers
Uniform mixing prevents roots from encountering abrupt bands of dense soil, concentrated compost, or dry peat. Combine measured ingredients on a clean tarp or in shallow lifts inside the bed. Turn each batch until its color and texture are reasonably consistent, then add it in layers several inches deep. This approach is more reliable than dumping each ingredient into a separate horizontal layer and expecting earthworms or irrigation to blend it later.
Moisture makes the blend easier to evaluate. Add water gradually until a squeezed handful holds together but breaks apart when touched. Powder-dry peat or coir can repel the first watering, while saturated soil is difficult to mix and easy to compact. If the material smears on a shovel or releases water when squeezed, stop working and allow it to drain. Handling clay-rich soil when wet destroys pore space and can leave hard clods after drying.
A compact build sequence keeps the work controlled:
- Measure ingredient volumes with the same bucket, tub, or marked wheelbarrow.
- Break apart clods and remove large stones, plastic, thick roots, and unfinished woody pieces.
- Blend dry mineral and structural materials before folding in moist compost.
- Dampen the mixture, fill the bed in shallow lifts, and level it without stomping.
- Water deeply, wait several days for natural settling, and top up with the same blend if needed.
Do not add concentrated fertilizer, lime, wood ash, or sulfur by guesswork during mixing. Compost may already supply substantial phosphorus and potassium, while pH amendments depend on both current pH and buffering capacity. Submit a representative sample to a laboratory after the ingredients are combined, or test the mineral soil and compost before making a large batch. University or state soil-testing laboratories commonly provide crop-oriented amendment guidance that simple color-strip kits cannot match.
Fresh wood chips belong on the surface, not mixed throughout the primary root zone. Soil organisms decomposing high-carbon wood can temporarily compete with plants for available nitrogen near those particles. A coarse wood-chip mulch does not create the same degree of root-zone competition because decomposition is concentrated at the soil surface. Keep mulch slightly away from seed rows and small stems so emerging seedlings are not buried.
The first irrigation is a useful field check. Water should enter steadily rather than pond for hours or vanish through large voids immediately. Dig a small inspection hole the next day: the profile should be evenly moist rather than wet at the bottom and dry above. If a new DIY garden soil blend for productive beds drains too quickly, correct it with organic surface cover and measured additions at the next planting cycle instead of rebuilding the bed immediately.
Read the Bed and Correct the Blend
The bed’s behavior during watering and root growth reveals more than its appearance on filling day. Expect some settling as loose particles rearrange and organic material decomposes. Severe shrinkage, however, often indicates that the original mix contained too much compost, peat, or partially decomposed wood and too little mineral soil. Refill with a balanced mixture rather than repeating the ingredient responsible for the volume loss.
Slow infiltration, prolonged puddling, sour odors, and roots confined near the surface point toward poor aeration or a blocked drainage path. Before adding amendments, check whether the bed sits on compacted subsoil, landscape fabric, or an impermeable base. A perfectly reasonable blend cannot drain through a sealed bottom. Loosen accessible native ground beneath a new open-bottom bed, and make sure containers or elevated planters have unobstructed outlets.
Rapid wilting despite regular irrigation can mean the blend contains too many coarse particles or has become hydrophobic, but it can also result from shallow watering. Push a finger or narrow trowel several inches below the surface before changing the recipe. If only the top inch is wet, apply water more slowly and for longer. If the full profile dries within a day under moderate weather, top-dress with compost, apply mulch, and consider adding a modest amount of water-retentive material between crops.
Plant symptoms should not be diagnosed from color alone. Pale leaves can follow nitrogen shortage, waterlogged roots, cold soil, high pH, or transplant damage. Dark, lush growth with few flowers may indicate excessive nitrogen, particularly in beds repeatedly amended with manure compost. Test before adding another blended fertilizer. Correcting an assumed deficiency without confirming it can compound salinity or nutrient imbalance.
Use these signs to judge whether the blend is moving in the right direction: water enters without extended ponding, the surface resists crusting, a handful forms loose crumbs rather than a hard lump, and roots occupy the profile rather than circling within the transplant plug. Earthworm activity can be encouraging, but it is not a substitute for drainage and nutrient checks. Likewise, a dark color does not prove that a mix is fertile or structurally sound.
Long-term maintenance should be lighter than the initial build. Add a thin compost top-dressing when soil-test results, crop removal, or visible loss of organic matter justifies it; keep the surface mulched; avoid walking in the growing area; and rotate where heavy-feeding crops are planted. A useful DIY garden soil blend for productive beds becomes a managed living root zone, not a recipe that must be remade every spring.
Frequently Asked Questions
Can I fill a productive bed with compost alone?
No. Compost alone can settle rapidly, hold excessive nutrients, and lack the durable mineral structure needed for stable moisture and root support. Combine it with suitable mineral soil and a structural component.
Should I put gravel in the bottom of a raised bed?
Usually not. Gravel can create an abrupt texture boundary that leaves water perched in the finer material above it. An open, loosened base and a well-structured blend provide more dependable drainage.
How often should compost be added?
Apply compost according to crop removal, observed soil condition, and periodic test results rather than on a fixed heavy schedule. A thin surface application between crops is often more appropriate than annual deep incorporation.
Can native clay soil be used in the blend?
Yes, in a controlled proportion. Break up dry clods and blend the clay-bearing soil thoroughly with mature compost and coarse structural material; never work it while saturated or leave it as a separate layer.
When can I plant after filling the bed?
Plant once the mix is evenly moist, cool, and made from mature ingredients. Waiting several days after deep watering allows settling and exposes drainage problems before seeds or transplants are installed.
Conclusion
Build the bed around functions rather than fashionable ingredients: mineral soil supplies permanence, mature compost supplies active organic matter, and coarse material protects pore space. Measure by volume, blend the full root zone uniformly, and resist adding lime or concentrated fertilizer without test results. After filling, use irrigation behavior, settling, crumb structure, and root distribution as operating feedback. Ponding calls for a drainage-path check before more amendments; rapid drying calls for deeper watering, mulch, and measured water-holding additions. Maintain the finished bed with light top-dressing and surface protection instead of rebuilding it annually. The most useful next step is to inspect the available topsoil and compost, calculate the required volume, and obtain a representative soil test before purchasing corrective products.


