
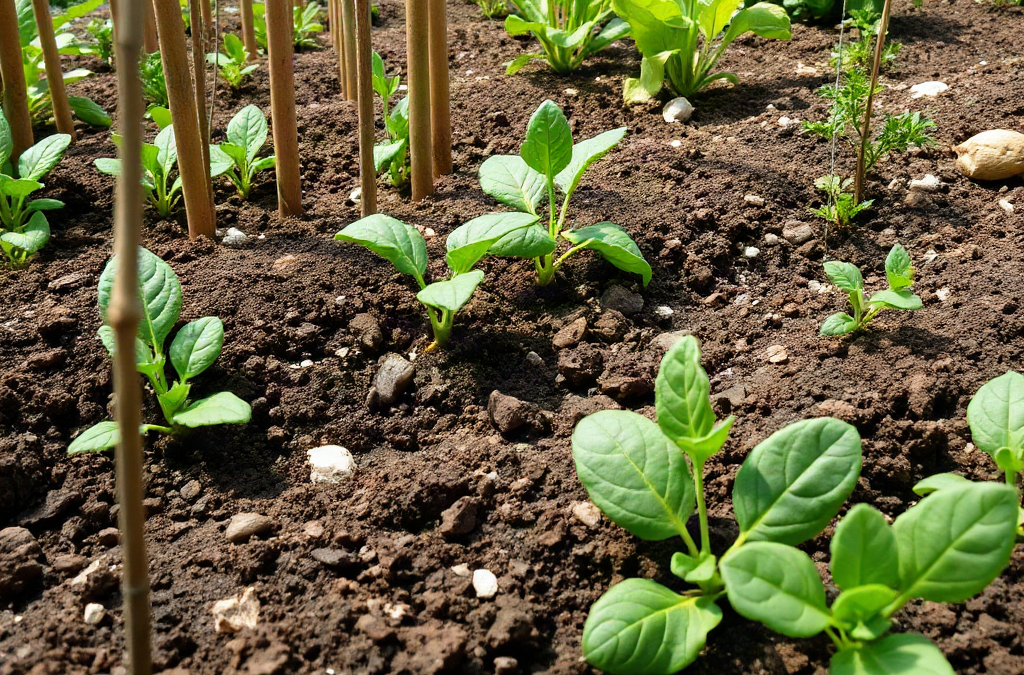
Improving the health of your vegetable garden requires protecting soil structure, watering according to root depth, supplying nutrients from test-informed amendments, and interrupting pest and disease cycles. Begin by inspecting drainage, compaction, plant spacing, leaf condition, and moisture several inches below the surface. Add finished compost without repeatedly tilling the bed, keep roots covered with organic mulch, and rotate unrelated crop families where space allows. Treat yellowing, wilting, or poor production as symptoms to investigate rather than automatic reasons to add fertilizer, because excess nutrients and wet roots can resemble deficiencies.
Assess the Bed Before Changing It
A useful garden assessment separates visible symptoms from their underlying causes. Pale leaves, slow growth, blossom drop, and wilting can result from nutrient shortages, but they can also appear when roots sit in saturated ground, compacted soil restricts oxygen, temperatures become extreme, or insects damage stems. Adding fertilizer before checking those conditions may intensify the original problem.
Start at ground level. Push a hand trowel into several parts of the bed rather than judging the surface alone. Healthy garden soil should admit the tool without excessive force, hold some moisture after irrigation, and break into aggregates instead of forming hard plates or sticky, airless clods. A dry crust above damp soil does not necessarily mean the bed needs more water. Conversely, a moist surface can conceal dry soil at the depth of tomato, pepper, or squash roots.
Inspect representative plants from top to bottom. New growth often reveals current stress, while older leaves preserve evidence of conditions from earlier in the season. Look beneath foliage for eggs and insects, examine stems at soil level, and note whether symptoms occur on one plant, one crop, or throughout the bed. A single wilted cucumber beside vigorous neighbors suggests localized root injury or stem damage; widespread wilting at midday with recovery by evening may reflect temporary heat stress rather than a failing irrigation system.
Soil testing is more reliable than guessing when growth remains poor or a bed has received repeated applications of manure, lime, wood ash, or blended fertilizer. A laboratory test can clarify pH and nutrient status, although available tests and recommendations vary by region. Record what was planted, which amendments were applied, and where symptoms appeared. Those notes make the results easier to interpret and prevent accidental repeat applications.
Use the assessment to establish priorities: correct standing water and severe compaction first, resolve irrigation inconsistencies next, and amend nutrients only when plant history, symptoms, or testing support that choice. Readers working through how to improve the health of your vegetable garden will get better results from one verified correction than from several products applied at once. Multiple simultaneous changes make it difficult to tell what worked and can create new imbalances.
Build Productive Soil Without Overfeeding It
Productive vegetable soil combines stable structure, accessible nutrients, organic matter, air, water, and active roots. Finished compost is useful because it contributes organic material and can improve the way sandy soil retains moisture or heavy soil handles water. It is not a precise cure for every deficiency, however, and repeated heavy applications can allow certain nutrients to accumulate.
Apply mature compost as a measured surface layer or incorporate it gently when preparing a new bed. Compost should smell earthy and should no longer contain recognizable, actively decomposing feedstocks. Unfinished material mixed into the root zone can temporarily compete for nitrogen or create uneven moisture conditions. Fresh manure poses additional food-safety and nutrient-management concerns and should not be treated as interchangeable with finished compost.
Frequent deep tillage offers quick looseness but can leave cultivated ground vulnerable to crusting and compaction after rain. In an established bed, use a fork to relieve localized compaction without repeatedly turning every layer. Keep permanent paths outside growing rows so foot traffic does not compress the root zone. Dense clay should not be amended by adding a small amount of sand, which may produce a harder mixture rather than the loose texture gardeners expect. Organic matter, protected surfaces, roots, and time are generally more practical tools.
Match fertilizer to the crop and growth stage. Leafy vegetables use nutrients differently from fruiting tomatoes or root crops, and more nitrogen is not automatically better. Excess nitrogen can produce lush foliage with delayed flowering, softer growth attractive to some pests, or nutrient losses beyond the root zone. A soil-test recommendation is preferable for correcting a known shortage. Where testing is unavailable, apply labeled products conservatively and observe new growth before repeating the dose.
Living roots also contribute to soil function. After an early crop finishes, a suitable cover crop can protect bare ground and capture nutrients, provided there is enough time to establish and terminate it before the next planting. Small gardens without that window can use mulch instead. The practical aim is not perfectly loose, dark soil in one season; it is gradual improvement without nutrient excess, disruptive cultivation, or long periods of exposed ground.
Manage Water, Mulch, and Root Conditions
Consistent root-zone moisture matters more than a rigid watering calendar. Weather, soil texture, plant size, bed depth, and mulch all affect how quickly water is used. Shallow daily sprinkling may wet foliage and the top inch while leaving deeper roots dry. Long irrigation sessions can be equally harmful where clay soil or poor drainage keeps pores filled with water and deprives roots of oxygen.
Check moisture before irrigating by examining soil below the mulch and surface crust. If it is dry at the active root depth, water slowly enough to penetrate rather than run off. Recheck afterward in a few locations; emitters can clog, hoses can miss corners, and raised-bed edges often dry faster than their centers. Newly seeded rows need gentler, more frequent moisture than established crops, so one irrigation schedule rarely suits an entire mixed bed.
Morning irrigation gives foliage and soil surfaces time to dry, which can reduce the prolonged leaf wetness favored by several garden diseases. Delivering water near the ground also limits splashing that can move soil onto lower leaves. This does not mean overhead watering always causes disease, nor does drip irrigation correct a poorly drained site. Method, timing, airflow, weather, and drainage work together.
Organic mulch moderates moisture swings, reduces soil splash, and suppresses many annual weeds. Straw free of weed seeds, shredded leaves, or other locally appropriate plant material can work well. Leave a small gap around stems instead of piling mulch against them, and avoid burying newly germinated seedlings. A thick layer over cold spring soil can delay warming, while too little coverage may break apart quickly and expose the surface.
Watch plants after adjustments. More even moisture should reduce repeated wilt-and-recovery cycles, minimize cracking in moisture-sensitive crops, and keep the soil workable rather than saturated. A sour odor, persistent puddles, fungus-gnat activity, or plants that remain wilted in wet ground signals that adding more water is failing. Improve drainage, shorten irrigation duration, or redirect runoff before assuming the crop needs feeding. For a broader bed-care approach, how to improve the health of your vegetable garden begins with treating water and air as a linked root-zone requirement.
Reduce Pest and Disease Pressure Through Daily Care
Early observation keeps small pest or disease problems from becoming bed-wide failures. Examine a few plants from each crop at least weekly, including leaf undersides, growing tips, flowers, stem bases, and developing produce. Record what you find before treating it. Chewed holes, yellow speckling, distorted growth, and leaf spots point to different causes and should not receive the same response.
Identification should come before control. A few damaged leaves may be old injury that no longer requires action, and not every insect on a vegetable is feeding on it. Hand-removing a small cluster of eggs or pruning one badly affected leaf can be more proportionate than spraying the whole bed. If a treatment becomes necessary, choose one labeled for the identified problem and crop, then follow its directions, harvest interval, and precautions. Homemade mixtures can injure leaves and are not automatically safer because their ingredients are familiar.
Spacing and sanitation change the conditions around plants. Crowded tomatoes hold humidity and make inspection difficult; thinning or properly supporting them improves airflow and access without stripping away so much foliage that fruit becomes exposed to sun injury. Remove diseased material when practical, clean tools after cutting suspicious stems, and harvest overripe or damaged produce that may attract pests. Composting diseased debris is appropriate only when the home composting process is capable of handling it; otherwise, follow local disposal guidance.
Crop rotation can interrupt some organisms that persist near their preferred hosts, but its value depends on space and biological relationships. Moving tomatoes a few feet into a bed that held peppers does not create a meaningful family rotation because both are closely related. In a tiny garden, resistant varieties, clean transplants, prompt residue removal, mulch, and careful watering may provide more realistic protection than an elaborate rotation map.
Plant diversity can provide habitat and spread risk, yet flowers and mixed plantings do not replace scouting. A healthy-looking border cannot compensate for infected transplants or chronically wet leaves. Signs that the prevention program is working include limited new damage, clean emerging leaves, stable plant vigor, and problems confined to a few plants. Rapidly expanding spots, collapsing stems, or repeated pest increases call for identification through a local extension or other reliable plant-diagnostic resource before additional treatment.
Use a Season-Long Garden Health Checklist
A short inspection routine turns garden health into a sequence of manageable decisions. The goal is to notice change early and respond at the smallest effective scale. A gardener with ten minutes should check moisture and active symptoms before pulling every weed or applying a general-purpose product.
- Before planting: Review last season’s crop locations, test questionable soil, check drainage, and choose varieties suited to the available light and growing period.
- At planting: Space crops for their mature size, protect the soil surface, and avoid placing concentrated fertilizer against seeds or roots.
- Each week: Inspect moisture below the surface, examine representative leaves and stems, remove competition from weeds, and verify that irrigation reaches every row.
- When symptoms appear: Photograph and map the pattern, compare affected and healthy plants, and change one likely cause at a time.
- After harvest: Remove failing plants and spoiled produce, note recurring problems, protect bare soil, and clean supports before storage or reuse.
Priorities change during the season. Seedlings need dependable surface moisture and protection from abrupt weather; mature fruiting crops need deeper, steady watering and support; late-season beds benefit from prompt cleanup and soil cover. Trying to maximize growth with continual feeding ignores these changing needs. Likewise, allowing every plant to remain until frost may preserve pests or pathogens that could have been removed earlier.
Keep records simple enough to maintain: planting date, crop and variety, major amendments, irrigation changes, first harvest, and notable symptoms. Photos taken from the same location can reveal thinning foliage or uneven growth that is hard to notice day to day. Compare results across seasons rather than expecting one amendment to transform the bed immediately. Improving structure and breaking recurring disease cycles may take more than one crop cycle, while correcting a blocked emitter can produce a much faster response.
The checklist is working when interventions become fewer and more targeted, crops recover normally after hot afternoons, water infiltrates evenly, and new growth remains sound. It is failing when the bed receives repeated treatments without a diagnosis, amendments accumulate without testing, or symptoms return in the same location. Those patterns justify a soil test, irrigation audit, or plant diagnosis rather than another round of guesswork.
Frequently Asked Questions
What should I do first when a vegetable garden looks unhealthy?
Check moisture below the surface, drainage, recent weather, and the distribution of symptoms. Determine whether the problem affects one plant, one crop, or the entire bed before adding fertilizer or applying pest control.
How often should compost be added to vegetable beds?
Frequency depends on soil condition, compost composition, crop removal, and test results. Use a measured amount of mature compost and avoid automatic heavy annual applications, especially in beds with a history of manure or high nutrient levels.
Is daily watering good for vegetables?
Not as a universal rule. Seeds may need frequent light moisture, while established crops usually benefit from water that reaches deeper roots. Check the soil first and adjust for heat, rainfall, soil texture, and drainage.
Should unhealthy leaves always be removed?
Remove leaves that are badly diseased, touching contaminated soil, or no longer functional, but avoid excessive pruning. Taking too much foliage can reduce photosynthesis and expose fruit to intense sun.
Can crop rotation work in a small garden?
It can help when unrelated plant families can be moved between distinct beds. Where space is limited, prioritize healthy transplants, resistant varieties, sanitation, mulch, airflow, and accurate diagnosis rather than relying on short-distance rotation alone.
Conclusion
A healthier vegetable bed comes from accurate observation followed by restrained, targeted action. Check drainage and root-zone moisture before feeding stressed crops, protect the surface with suitable mulch, and use mature compost without assuming more is better. Regular inspection makes it possible to remove a few pests, correct a missed irrigation area, or isolate a diseased plant before damage spreads.
Choose one improvement to verify this week: inspect moisture at root depth, review amendment history, map recurring symptoms, or check whether mature plants have adequate spacing. Record the change and watch new growth rather than expecting damaged leaves to recover. When problems persist despite sound watering and care, seek a soil test or reliable plant diagnosis. That sequence reduces unnecessary treatments while steadily improving the bed’s structure, resilience, and productivity.


