
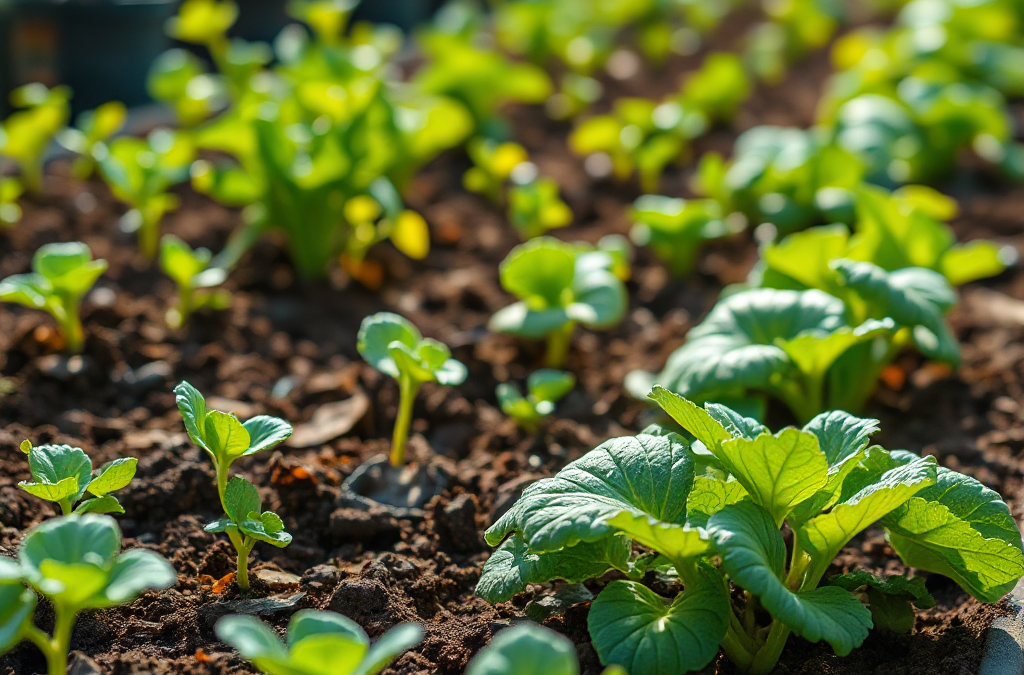
How to fix uneven growth in vegetable beds starts with comparing the weak and vigorous areas for soil moisture, sunlight, planting depth, root space, and pest damage. Water deeply enough to wet the root zone, improve compacted or poorly drained soil, thin crowded seedlings, and correct shade or competition before adding fertilizer. A simple soil test can reveal pH or nutrient differences, while checking stems and roots can uncover cutworms, root-feeding insects, or disease. Avoid treating the whole bed with more fertilizer until the cause is known, because excess nutrients can worsen weak-rooted plants and create uneven growth rather than correcting it.
Compare Strong and Weak Areas Before Changing the Bed
Uneven growth usually reflects a difference in conditions within the bed rather than a single problem affecting every crop equally. A row may cross from loose, moist soil into a compacted strip, or one end may receive several hours less sunlight because of a fence, wall, tree, or tall crop. Before applying amendments, compare a thriving plant with a weak one at the same age. Note leaf color, stem strength, soil moisture, surface crusting, nearby shade, spacing, and signs of chewing or wilting.
Dig beside—not directly through—a weak plant and inspect the upper root zone. Healthy roots should occupy the soil available to them and should not sit in sour-smelling, saturated soil. A dry, dusty root ball points toward inadequate infiltration or irregular watering; gray, soft, or sparse roots suggest excess water, poor drainage, or disease pressure. A plant that is small but green may be limited by light, temperature, or root space, while pale older leaves can indicate a nutrient shortage or damaged roots.
Map the pattern. Weak plants scattered randomly may indicate pests, inconsistent seed quality, transplant injury, or individual competition. Weakness concentrated along one edge more often suggests shade, runoff, a buried construction layer, or a different soil mix. Plants declining in a line may be affected by a leaking irrigation connection or a compacted planting furrow. This pattern-based approach is more reliable than assuming that every stunted plant needs fertilizer.
Use a small diagnostic record for several days:
- Check soil moisture at root depth in both strong and weak locations.
- Observe direct sun at morning, midday, and afternoon.
- Look under leaves and around stems for insects, eggs, holes, or chewed edges.
- Measure spacing and identify roots competing with neighboring crops.
- Compare the bed’s soil texture, crusting, smell, and drainage after watering.
These observations provide the evidence needed for how to fix uneven growth in vegetable beds without disturbing healthy plants unnecessarily. The common mistake is changing several variables at once. If you add compost, increase irrigation, apply fertilizer, and move plants simultaneously, you may not know which change helped—or which caused new damage.
Correct Water, Drainage, Light, and Soil Structure
Water inconsistency is one of the fastest ways to create visibly different plant sizes in the same bed. Shallow sprinkling may wet only the surface around vigorous young roots, while water running off a compacted patch leaves the root zone dry. Test each area by pushing a finger or narrow trowel into the soil several inches. Moist soil should hold together lightly without feeling muddy; hard, dry soil or standing water calls for different remedies.
Apply water slowly at the soil surface so it can infiltrate rather than flow away. Drip lines, soaker hoses, or a gentle hand-watering wand can deliver more evenly than a strong spray. Check the far end of an irrigation line as well as the connection end, because clogged emitters and pressure differences can make one part of a bed consistently drier. Mulch can reduce evaporation, but it should be kept slightly away from stems to limit persistent dampness and rot.
Drainage requires a separate response. If weak plants sit in a low spot, improve the bed’s grade or use raised rows rather than watering more often. Incorporating mature compost into the top layer may improve aggregation, but compost alone will not correct a dense subsoil or a buried hardpan. Avoid working wet clay; walking or digging it when saturated can create long-lasting compaction. A garden fork used to loosen a dry-to-moist layer, without turning the soil aggressively, is often less disruptive than repeated tilling.
Light differences can be subtle. Fruiting crops such as tomatoes, peppers, cucumbers, and squash generally need strong direct light for vigorous growth, while leafy greens tolerate somewhat less. A bed that receives afternoon shade may produce acceptable lettuce but weak, delayed tomatoes. Trim or relocate the obstruction if practical, or place shorter crops in the shaded zone and reserve the brightest strip for light-demanding vegetables. Adding fertilizer to a shaded crop will not replace the energy supplied by sunlight.
Check whether water, soil, and light are being treated as separate issues when they may interact. Compacted soil limits both air and water movement; shade slows drying and can make an already wet area remain saturated. Conversely, a hot, exposed edge may need more frequent irrigation than the protected center. A useful comparison is to correct distribution first, then reassess before making nutritional changes. This is a more controlled route than applying a uniform cure across a bed with clearly different microconditions.
Check Spacing, Roots, Nutrients, and Pests
Crowding produces uneven growth because neighboring plants compete for light, water, and root volume. The largest seedling can shade smaller plants and absorb moisture faster, especially in a dense stand of carrots, beets, onions, or greens. Thin seedlings according to the crop’s mature size rather than preserving every plant. For transplanted vegetables, leave enough room for the canopy and root system to develop without touching constantly. Moving an established plant may cause more stress than removing a poorly positioned one.
Root inspection helps separate a spacing problem from a soil problem. Roots circling tightly inside a transplant plug may continue growing poorly if the surrounding soil is compacted or dry. Gently loosen severely bound roots when planting, but do not tear a fragile root ball apart. If roots stop abruptly at a dense layer, use a fork to open the planting zone and add organic matter only where it can be mixed with existing soil. Large amounts of fresh manure or unfinished compost can injure roots and may introduce weed seeds or excessive salts.
Nutrient shortages should be diagnosed from symptoms and, when possible, a soil test. Uniform pale older leaves can be consistent with inadequate nitrogen, but yellowing may also follow overwatering or root damage. Purplish foliage can result from several stresses and is not proof of a phosphorus deficiency. A test is especially useful when only one section of a bed performs poorly, because imported soil, compost pockets, or previous fertilizer applications may have created local differences.
Do not use fertilizer as a general rescue measure. Excess nitrogen may produce soft, leafy growth with delayed flowering, while concentrated granular products can damage roots when placed too close to stems. If a test or clear symptom supports feeding, use a measured product according to its label and distribute it evenly over the intended area. Retest the plant response through new growth rather than expecting damaged leaves to regain their original appearance.
Pests and disease can imitate poor fertility. Cut stems at the soil line suggest a different investigation from holes in leaves, sticky residue, distorted new growth, or sudden wilt. Examine the underside of leaves, the stem base, and nearby soil. Remove badly affected plants when disease is suspected, sanitize tools, and avoid moving wet soil between beds. A weak plant beside a vigorous one may reflect localized root feeding, while a whole row declining together may point to shared watering or soil conditions. Include how to fix uneven growth in vegetable beds in your diagnostic notes, but let the observed pattern—not the keyword—determine the next action.
Use a Staged Recovery Plan and Monitor Results
Recovery works best when changes are made in priority order. First remove immediate competition and correct severe moisture problems; then address soil structure, light exposure, and confirmed nutrient needs. Plants with intact growing points may resume normal growth after conditions stabilize, but heavily damaged roots or diseased stems may make replacement more practical. Trying to save every plant can waste water and create crowding that harms the healthiest specimens.
A practical sequence is:
- Mark strong, average, and weak locations so changes can be compared.
- Repair blocked emitters, uneven hose coverage, runoff, or standing water.
- Thin crowded seedlings and remove weeds that occupy the same root zone.
- Loosen compacted planting areas when soil is workable and add finished organic matter sparingly.
- Test soil before applying substantial fertilizer or lime.
- Inspect twice weekly for new growth, pest activity, wilting, and soil moisture.
Judge success by new leaves, steadier moisture, and more even color rather than by instant recovery of old foliage. If new growth improves but one patch remains small, revisit light, root depth, or a localized obstruction. If plants wilt despite moist soil, investigate damaged roots, disease, or heat stress instead of increasing irrigation. If the soil dries within hours and leaves repeatedly droop, improve water delivery and mulch coverage before feeding.
Record the intervention and its date. For example, if thinning a crowded lettuce section leads to larger new leaves while an unthinned section remains stagnant, spacing was probably part of the problem. If only the end of a raised bed improves after an emitter is unclogged, distribution was more influential than fertilizer. These small comparisons turn a frustrating bed into a manageable experiment and make next season’s layout more informed.
Prevention begins when the bed is prepared. Keep pathways from becoming compacted, mix amendments evenly rather than creating isolated pockets, inspect irrigation before planting, and place tall crops where they will not shade shorter ones. Crop rotation can reduce recurring pest and disease pressure, though it cannot correct drainage or a persistent lack of sunlight. For a broader troubleshooting reference, use how to fix uneven growth in vegetable beds alongside crop-specific spacing and watering instructions.
Frequently Asked Questions
Why are some vegetables in the same bed smaller than others?
Local differences in moisture, sunlight, compaction, spacing, roots, nutrients, pests, or disease can make plants in one bed grow at different rates. Compare the weak patch with a healthy patch before treating it.
Should I add fertilizer to fix uneven vegetable growth?
Only after checking for watering, light, root, and pest problems and, ideally, using a soil test. Fertilizer will not correct shade or saturated soil and may injure stressed roots.
How can I tell whether uneven growth is caused by watering?
Compare soil moisture at root depth across the bed, inspect irrigation emitters, and look for runoff or standing water. Dry soil in one zone and persistent saturation in another indicate distribution or drainage problems.
Can overcrowding cause different plant sizes?
Yes. Larger plants can capture more light and water, leaving nearby seedlings behind. Thin according to mature spacing and remove weeds competing in the same root zone.
When should I replace a weak vegetable plant?
Replace it when the growing point is dead, roots are badly damaged, disease is spreading, or the plant cannot recover before the crop's useful season ends. Replant only after correcting the underlying condition.
Conclusion
Uneven vegetable growth is easier to correct when the bed is treated as a set of distinct growing conditions rather than one uniform space. Compare a weak plant with a strong one, inspect the roots, measure moisture at depth, and observe light and spacing before adding fertilizer. Repair irrigation problems and drainage first, then reduce crowding, improve compacted soil, and use a soil test to guide any nutrient application. Watch new growth for evidence that the change is working, since old damaged leaves may not recover. If one section continues to fail, remove an irreparably damaged plant and investigate that location separately. A short record of symptoms, changes, and results will make both the current bed and the next planting more predictable.


