
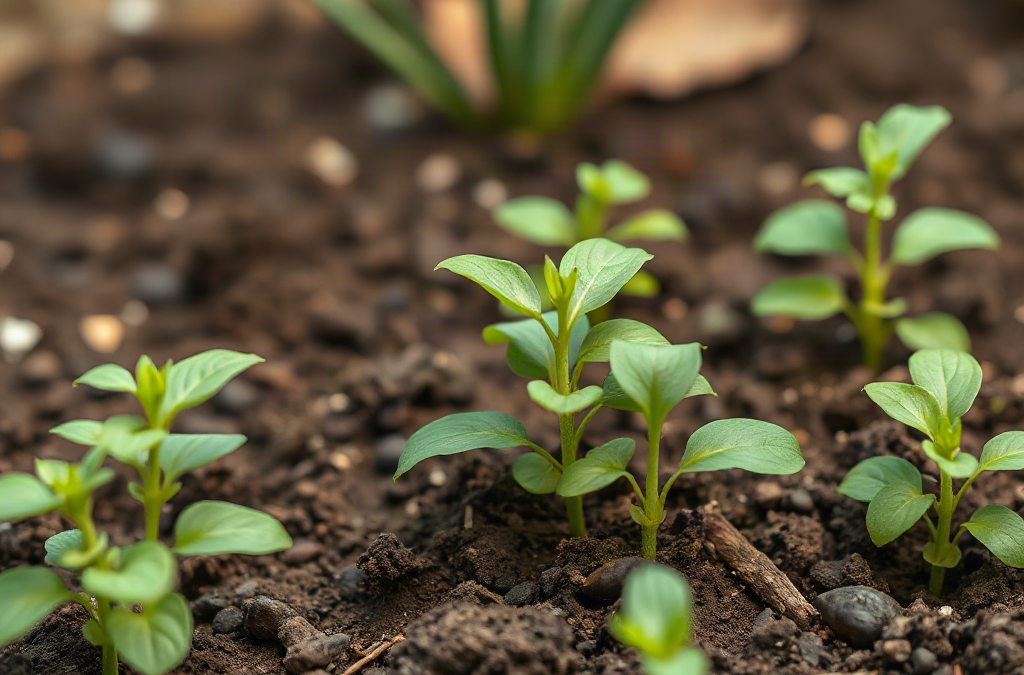
Garden soil preparation for first-time planting should begin with a drainage check and soil test, followed by removing perennial weeds, loosening compacted ground, and incorporating only the amendments the site needs. Work the bed when a squeezed handful crumbles rather than smears, since digging wet soil can create dense clods that restrict roots and air. Use finished compost to improve structure, but base lime and fertilizer applications on test results instead of guesswork. Finish by leveling the surface, watering to settle loose material, and confirming that excess water drains before sowing seeds or setting transplants.
Assess the Site Before Disturbing the Ground
A useful soil assessment begins above ground. Mark the proposed bed, observe how many hours of direct sun it receives, and check where rain or irrigation water travels. Soil preparation cannot compensate for deep shade, chronic runoff, or a low spot that remains saturated. Most fruiting vegetables need substantial direct light, while leafy crops tolerate somewhat less. A bed beside a roof downspout may look convenient but can alternate between flooding and dryness.
Check drainage by observing the area after steady rain or by moistening a small test area thoroughly. Water that disappears immediately from sandy ground may carry nutrients below shallow roots, while water that remains at the surface indicates compaction, fine-textured soil, a high water table, or some combination of these conditions. Do not assume clay itself makes a site unusable. Clay-rich soil can be productive when organic matter is maintained and the ground is not worked while wet.
Dig several inspection holes across the proposed bed rather than judging it from one corner. Look for a dark top layer, dense horizontal plates, pale or gray mottling associated with prolonged wetness, construction debris, and roots from nearby trees. A screwdriver or garden fork that stops at the same shallow depth in several places may be meeting a compacted layer. Tree roots present a different constraint: repeatedly cutting them can harm the tree, while leaving them means garden plants must compete for moisture.
Existing vegetation also reveals practical problems. Persistent bindweed, quackgrass, nutsedge, or other spreading perennials should be controlled before the bed is planted because chopping their underground parts can multiply the infestation. Annual lawn grass is usually easier to remove with a sod cutter or sharp spade. Avoid burying thick, living sod directly beneath a seedbed; decomposing mats can settle unevenly and interfere with shallow seedling roots.
Choose an in-ground bed when drainage is acceptable and the native soil can be loosened without major excavation. A raised bed is more sensible over severely compacted fill, shallow rock, or ground that stays wet, provided the bed has an open, draining base. For additional planning context, compare the site findings with this Garden soil preparation for first-time planting resource before purchasing bulk materials.
Test Soil Before Choosing Amendments
A laboratory soil test turns amendment decisions into measured choices. It commonly reports soil pH and levels of plant-available nutrients, then gives recommendations based on the crops being grown. Some services also report organic matter, soluble salts, or texture. Testing is especially valuable in a new bed because its history may be unknown: a previous owner could have applied lime, manure, or fertilizer for years.
Collect a representative sample before adding compost or fertilizer. Remove surface litter, take thin slices of soil from multiple locations at the laboratory’s specified depth, combine them in a clean plastic container, and submit the required portion. Avoid galvanized or rusty tools that might contaminate a micronutrient reading. Keep visibly different areas separate. A wet low corner and a dry slope should not be blended into one sample because their average may describe neither area accurately.
Soil pH influences how readily roots can access nutrients, but it should not be adjusted toward a single universal number. Many vegetables grow well in mildly acidic to near-neutral soil, while blueberries and some ornamentals have different requirements. Lime raises pH and can supply calcium or magnesium, depending on the product. Sulfur is sometimes used to lower pH, but the change is gradual and varies with soil conditions. Applying either material without a test can push the bed farther from the intended range.
Home probe meters and color kits provide rough screening at best. Moisture, salts, calibration, and sampling technique can distort their readings. A professional laboratory analysis costs more and takes longer, yet it is the better basis for consequential additions such as lime, phosphorus, or potassium. Nitrogen recommendations still require judgment because nitrogen changes rapidly in soil and may not be included as a straightforward test value.
Ask the laboratory whether its recommendations assume incorporation into a new bed or surface application to an established one. Follow its units carefully; pounds per 1,000 square feet must be converted for a small plot. For example, a 100-square-foot bed receives one-tenth of a recommendation stated for 1,000 square feet. Applying the full amount to the smaller area risks salt injury and nutrient imbalance. Record the results, application date, and products used so the next test has meaningful context rather than becoming another isolated number.
Clear and Loosen the Bed Without Damaging Structure
Soil should be worked only when its moisture allows aggregates to separate without smearing. Squeeze a handful taken from several inches below the surface. If it forms a shiny ribbon or stays as a sticky ball when pressed, postpone digging. If it breaks apart with gentle pressure, conditions are usually more suitable. This simple check matters most in fine-textured ground, where cultivating too early can create hard clods that persist through the growing season.
After removing weeds and sod, loosen the root zone with a garden fork, broadfork, or spade. Lift and fracture compacted ground rather than repeatedly pulverizing it. A rotary tiller is fast on a large, unplanted area, but repeated passes can destroy stable crumbs, form a compacted layer beneath the blades, and spread pieces of perennial weeds. Hand tools take longer but give a first-time gardener better control around buried utilities, irrigation lines, and tree roots.
Digging depth should match the problem rather than an arbitrary target. If a fork enters freely and roots already extend downward, shallow incorporation may be enough. Where an inspection hole reveals a dense layer, gently lift and crack that layer without bringing large amounts of raw subsoil to the surface. Subsoil often has less organic matter and weaker structure than the top layer. Mixing it throughout the seedbed can make the surface harder to manage.
Do not attempt to change clay into sandy loam by adding a few bags of sand. Small proportions of fine sand mixed with clay may produce a dense, concrete-like mass rather than better drainage. Organic matter is generally the more practical structural amendment because it encourages aggregation and creates a soil environment that handles air and water more effectively. Where waterlogging is caused by site elevation or an impermeable layer, however, compost alone will not correct the underlying drainage constraint.
A compact sequence keeps the work controlled:
- Remove: Lift sod, persistent roots, rocks, wire, and construction debris.
- Check moisture: Wait if soil smears against the shovel or clings in heavy slabs.
- Open the root zone: Insert a fork and lift gently across the bed.
- Break only large clods: Preserve small crumbs instead of grinding the soil into dust.
- Protect the surface: Keep off the prepared area and work from paths or boards.
Working from permanent paths prevents foot traffic from undoing the improvement. A bed that is narrow enough to reach from both sides rarely needs to be stepped on. Detailed tool choices can be coordinated with the earlier Garden soil preparation for first-time planting assessment so cultivation addresses an observed restriction rather than disturbing the entire site by default.
Add Compost and Fertilizer in Measured Amounts
Finished compost improves the physical environment of many new beds, but more is not automatically better. Mature compost should be dark, crumbly, and earthy-smelling, without recognizable food scraps or strong ammonia odor. Spread a modest layer across the surface and blend it into the upper soil where roots will develop. On decent native ground, a thinner addition is often preferable to replacing the soil’s character with a thick, compost-dominated mixture.
The source matters. Yard-waste compost, composted manure, and homemade compost can differ in nutrients, salts, maturity, and texture. Manure-based products may contribute substantial phosphorus, so annual heavy applications can create an excess even when plants still need nitrogen. Unfinished compost may temporarily compete with seedlings for nitrogen or continue heating after incorporation. Fresh manure is not a substitute for finished compost and introduces food-safety and handling concerns around edible crops.
Fertilizer should address the crop requirement and test result, not the appearance of the bag. Products list nitrogen, phosphate, and potash as three numbers. A balanced formulation is not inherently appropriate if the ground already contains ample phosphorus or potassium. In that situation, adding all three nutrients together wastes material and may worsen imbalance. Choose a product that supplies the recommended nutrient, calculate the bed area, and measure the dose rather than estimating by handfuls.
Slow-release and organic fertilizers generally release nutrients over time as coatings break down or soil organisms process their ingredients. Soluble products act faster but are easier to overapply and more likely to move with excess water. Neither category removes the need for correct placement and rate. Concentrated fertilizer touching seeds or tender roots can injure them, while fertilizer scattered over an unmulched surface may be lost to runoff or remain beyond the active root zone.
Watch the bed after planting rather than assuming amendment effects are immediate. Even emergence, expanding leaves, and roots entering the surrounding soil indicate that moisture, aeration, and fertility are reasonably balanced. Wilting in wet soil, white crusts at the surface, burned leaf margins, or stunted roots point toward drainage trouble, excessive salts, or overapplication. Do not respond automatically with more fertilizer; check soil moisture, weather, root condition, and the original test first. Keep product labels and application notes with the Garden soil preparation for first-time planting record for later troubleshooting.
Finish the Bed and Confirm It Is Ready to Plant
A finished bed needs a stable, workable surface rather than an extremely fine powder. Rake out large stones and woody debris, level obvious hollows, and leave small soil aggregates intact. A powdery surface can crust after rain, blocking small seedlings from emerging. Large air pockets create the opposite problem by allowing seeds and transplants to settle too deeply after watering.
Water the prepared area gently and observe it before planting. The surface should absorb water without immediate runoff, and excess moisture should move downward rather than remain in puddles. Some settling is normal after loosening and adding compost. Refill pronounced depressions with the same soil-compost blend, then rake lightly. Avoid packing the bed by walking on it or pressing it repeatedly with a heavy roller.
Match the final texture to the planting method. Direct-sown carrots, lettuce, and other small seeds benefit from a smooth upper layer with no large clods. Transplants can tolerate a somewhat coarser surface because their roots are already established. Do not place soft potting mix only inside each transplant hole in heavy soil. That sharp texture boundary can hold water differently and discourage roots from moving outward. Backfill mainly with the excavated garden soil and use compost across the bed rather than as isolated pockets.
Planting time also affects readiness. Cold, saturated ground slows root activity and seed germination even when the chemistry is suitable. Warm-season crops should wait until local soil and frost conditions fit the crop. If the bed must sit for several weeks, cover it with clean mulch or a suitable temporary cover to reduce crusting, erosion, and weed emergence. Pull coarse mulch aside before direct sowing so tiny seedlings are not buried.
The preparation is working when water enters evenly, a hand trowel penetrates without meeting a hard plate, and the surface remains crumbly after irrigation. Repeated ponding, deep footprints, sour odors, or a sealed crust signal that planting should pause. Correct drainage or moisture conditions first; adding fertilizer to physically stressed soil will not restore air around roots. Treat the first season as a baseline, record where growth is uneven, and retest or inspect those zones separately rather than rebuilding the entire bed.
Frequently Asked Questions
How far in advance should I prepare a new garden bed?
Prepare it when the soil is workable, ideally several weeks before planting if lime or slow-acting amendments are recommended. A bed can also be prepared shortly before planting if drainage is sound, compost is mature, and fertilizer is applied at the correct rate.
Can I plant immediately after adding compost?
Yes, if the compost is fully finished, cool, and used in a moderate amount. Delay planting if it smells of ammonia, contains undecomposed material, feels warm, or has an unknown salt level.
Should I remove all old grass before making the bed?
Remove living sod for the fastest, most predictable start, especially when planting seeds. Smothering grass can work when there is ample lead time, but perennial weeds with spreading roots need separate control.
Is topsoil necessary for a first garden?
Not when the native soil drains adequately and can be improved with measured amendments. Imported topsoil is more useful for filling raised beds or replacing contaminated or severely disturbed material, and its quality should be verified before delivery.
What should I do if the prepared soil still holds puddles?
Pause planting and identify whether compaction, runoff, low elevation, or an impermeable layer is responsible. Loosening may address shallow compaction, while persistent site drainage problems may require a raised bed or relocation.
Conclusion
A dependable first planting begins with evidence from the site rather than a standard recipe. Observe sunlight and drainage, inspect several soil locations, and submit a representative sample before buying lime or concentrated nutrients. Work only crumbly soil, preserve its aggregates, and use finished compost in a restrained layer instead of trying to replace native ground with amendments.
Before sowing, water the bed and check for ponding, crusting, deep settling, or a compacted layer. Correct those physical problems before addressing fertility because roots need both air and moisture to use available nutrients. Record the test results, amendment quantities, and uneven growth during the first season. Those notes will show whether the next step is additional organic matter, a targeted nutrient application, drainage work, or simply continued mulch and careful cultivation.


