
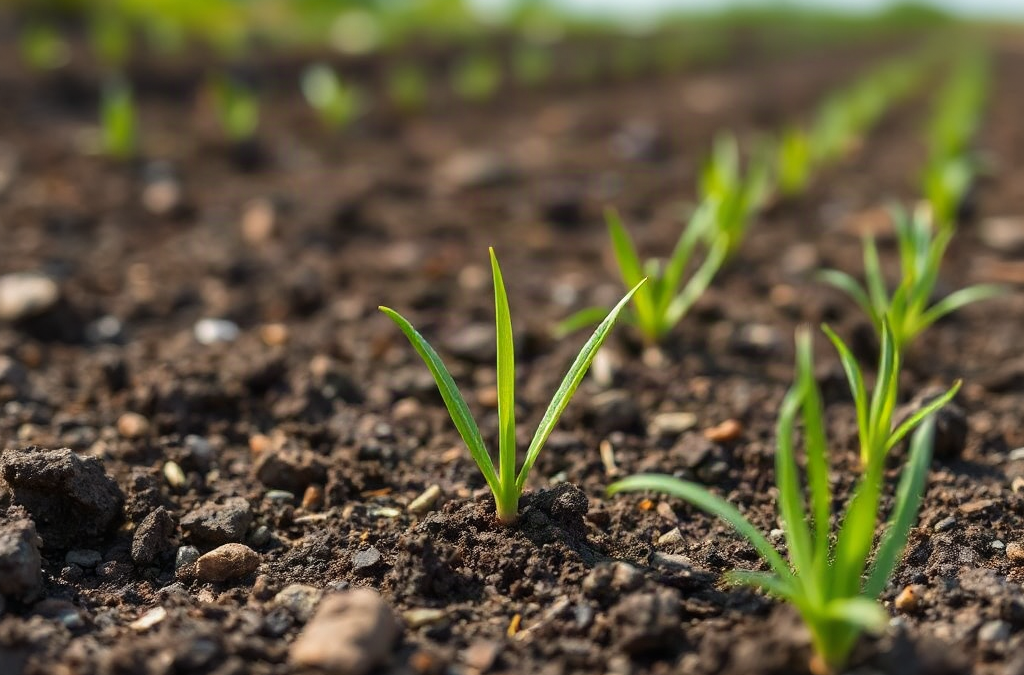
Grass seed failing to sprout evenly usually reflects differences in seed-to-soil contact, moisture, planting depth, temperature, or seed movement rather than defective seed alone. Inspect bare and healthy areas side by side, checking whether seeds are exposed, buried, washed into clusters, or sitting in soil that dries faster. Keep the upper soil layer consistently damp during germination, but avoid runoff and puddling. Wait for the stated germination window of the grass species before reseeding slow patches, because perennial ryegrass may emerge well before Kentucky bluegrass. Repair confirmed bare spots by loosening the surface, redistributing seed at the labeled rate, and pressing it firmly into place.
Read the Germination Pattern Before Taking Action
The shape of the thin areas often reveals more than the number of seedlings. Seed that emerges densely in low spots but sparsely on slopes was probably shifted by watering or rain. Straight bare bands may correspond to missed passes with a spreader. Irregular dry islands near pavement, walls, or exposed high points commonly indicate faster moisture loss. A uniformly thin stand points instead toward low seeding density, poor soil contact, unsuitable temperature, or seed that was planted too deeply.
Begin by comparing one successful patch with one failed patch. Gently separate the surface soil with a fingertip or small trowel rather than digging a deep hole. Look for unsprouted seed and note its position. Seed visible on top may have dried repeatedly or become vulnerable to birds. Seed buried well below the loose surface may not have enough stored energy to reach daylight. Missing seed suggests that runoff, wind, animals, or watering moved it after sowing.
The condition of any seed you find provides another clue. Firm seed that has not visibly changed may simply be waiting for suitable warmth and moisture. Swollen seed indicates that water uptake began. Soft, discolored, or decaying seed in saturated soil points toward excessive moisture, poor drainage, or prolonged cold conditions. Avoid judging viability from a single seed; inspect several locations across both strong and weak areas.
Timing must be interpreted according to the species in the mixture. Perennial ryegrass usually becomes visible sooner than fine fescue or Kentucky bluegrass, so a blended lawn can initially look uneven even when establishment is proceeding normally. Seed-package labeling should identify the species, and the label’s germination guidance is more useful than a universal calendar. Cool weather may lengthen the wait, while a warm soil surface can speed emergence if moisture remains available.
A compact field check keeps premature reseeding from creating dense clumps:
- Map the pattern: note slopes, sprinkler edges, footprints, shade lines, and low areas.
- Inspect seed placement: compare exposed, correctly seated, and deeply buried seed.
- Check beneath the surface: the seed zone should feel damp, not dusty or muddy.
- Confirm elapsed time: compare it with the slowest grass species in the mix.
For readers tracking Grass seed failing to sprout evenly, photographs taken from the same position every few days can distinguish delayed emergence from a genuinely static bare patch. The common mistake is adding more seed as soon as the first green blades appear elsewhere. If slower seed is still viable, that response can produce overcrowded areas that compete for light and water later.
Check Moisture, Soil Contact, and Planting Depth
Uneven water distribution is a leading explanation when neighboring patches receive the same seed but emerge differently. Germinating seed needs dependable moisture at the surface, where soil dries much faster than it does several inches down. A lawn can therefore feel moist under a screwdriver or soil probe while the shallow seed zone has already dried. Repeated wetting followed by complete surface drying can interrupt establishment after seed has absorbed water.
Test irrigation with several straight-sided, shallow containers placed in strong and weak areas during one watering cycle. The goal is not merely to measure total water but to reveal differences in sprinkler reach, blocked spray, wind drift, and runoff. A corner outside the spray pattern may receive almost nothing, while an overlapping sprinkler zone stays saturated. Hand watering can create similar inconsistency when the hose sweeps quickly over some patches and lingers over others.
During germination, light applications may be needed often enough to keep the seeded layer damp, with frequency adjusted for heat, wind, shade, soil texture, and rainfall. Sandy surfaces lose water rapidly; compacted or fine-textured soil may remain wet longer and shed water before it infiltrates. Water droplets should not dislodge seed or carve channels. Once seedlings are established, gradually shift toward less frequent, deeper watering so roots begin following moisture downward. Keeping the surface constantly saturated after emergence favors shallow rooting and can encourage disease.
Seed-to-soil contact matters because seed stranded on loose debris cannot draw moisture as reliably as seed held against prepared soil. Before sowing, loosen only the upper surface enough to create a receptive seedbed, remove heavy mats of dead material, and level obvious depressions. After spreading, lightly rake so most seed is seated near the surface, then press it with a lawn roller that is not heavily weighted or by gently tamping small areas. The objective is firm contact, not compaction.
Deep burial is not a substitute for firming. Grass seed generally performs near the surface, and a thick layer of topsoil, compost, or mulch can place it beyond an emerging shoot’s practical reach. A very light, clean covering may reduce drying on exposed sites, but piles of material create delayed or absent emergence beneath them. Straw can protect a slope, yet too much blocks light and makes moisture inspection difficult.
Watch the soil immediately after irrigation. Puddles, a shiny sealed crust, floating seed, or water leaving the seeded area signals failure rather than thorough watering. Break a light crust carefully without uprooting seedlings, and divide irrigation into shorter cycles if runoff begins before the seed zone is damp. The weak assumption is that a fixed timer setting suits the entire lawn; direct observation in the thinnest zones gives a much more reliable watering schedule.
Account for Seed Type, Temperature, and Site Conditions
Grass species do not share one germination schedule or one preferred planting season. Cool-season grasses establish most reliably when soil is warm enough for germination but the surrounding weather is trending cooler and moisture loss is manageable. Warm-season grasses require warmer conditions and may remain inactive when planted too early. Air temperature alone can mislead because soil near a sunny driveway can be much warmer than soil under afternoon shade.
A mixed seed product can produce a quick green haze from its fastest component while slower species remain unseen. That early color does not prove the entire mixture has germinated, nor does a slow section automatically require replacement. Read the analysis label for species percentages, germination information, test date, and any inert material or coating. Coated seed occupies more package weight per individual seed, so application should follow that product’s labeled coverage rather than a rate copied from an uncoated product.
Storage history also affects the diagnosis. Seed kept cool and dry is a better candidate for continued waiting than an opened bag stored through humid conditions in a shed. If seed quality is uncertain, place a counted sample between damp paper towels inside a loosely closed container and keep it under conditions appropriate for the species. The test does not reproduce outdoor stresses, but it can show whether the remaining batch is capable of germinating. A weak result supports buying fresh seed; a strong result redirects attention to site preparation and moisture.
Microclimates explain sharp boundaries that watering alone cannot. South-facing slopes may heat and dry quickly, tree roots compete for moisture, roof overhangs exclude rainfall, and heavy foot traffic presses wet soil into a dense surface. Shade adds a separate constraint: seed may germinate under a tree but the young grass can thin later because available light is insufficient. Choosing a shade-tolerant species may improve persistence, but even shade-adapted turf has a minimum light requirement.
Soil conditions become more suspect when poor emergence follows compacted paths, construction zones, or areas where water stands. A soil test can guide pH and nutrient decisions, but adding fertilizer without results does not correct buried seed, low temperature, or deficient irrigation. Starter fertilizer may support young turf when soil recommendations call for it; excessive fertilizer can injure seedlings or promote rapid top growth before roots are established. Likewise, broad claims that seed needs a thick layer of rich compost confuse nutrition with the physical requirements of germination.
Herbicide history deserves attention when seed fails along treated zones. Some pre-emergent products work by interfering with seedling establishment and may also affect newly sown grass. Weed-and-feed and other lawn treatments vary in their reseeding intervals, so the product label—not a general waiting period—should govern the decision. Documenting species, planting date, recent applications, shade, and irrigation coverage makes the diagnosis of Grass seed failing to sprout evenly far more precise than treating every bare patch alike.
Repair Thin and Bare Patches Without Starting Over
Patch repair should begin only after the slowest expected seed has had a reasonable opportunity to emerge. Reseeding too early disturbs new roots and can double the intended density. Waiting indefinitely is no better when seed has washed away, decayed, or failed a simple viability check. A practical decision point is visible progress: if new seedlings continue appearing across the thin area, protect it; if inspected seed is absent or deteriorated and the patch remains unchanged, prepare it again.
Small bare spots rarely justify renovating the entire lawn. Mow surrounding grass only if needed, collect heavy clippings, and avoid walking on soft seedlings. Scratch the bare surface lightly to relieve crusting and expose soil without tearing through nearby roots. Add a thin amount of screened soil only where erosion created a depression. Spread compatible seed at the package rate for bare-ground repair, rake minimally, and press it into contact. Marking the repaired zone helps prevent foot traffic and accidental mowing.
Thin areas require a different approach from empty ones. Adding a full new-lawn rate over surviving seedlings can create excessive density, so use the overseeding rate listed for the product. Distribute half the seed in one direction and half across it for more uniform placement. A handheld spreader is useful for larger patches, but tiny areas are often easier to divide into measured sections. Mixing seed with soil to make it easier to see can lead to uneven depth; spreading seed first and firming it afterward provides better control.
Slopes need protection from movement as much as they need water. Apply irrigation slowly, stop before runoff, and use a light erosion-control material suited to seeded lawns if rainfall or slope length makes washout likely. Flat, poorly drained ground presents the opposite problem: adding mulch and frequent water can prolong saturation. Correct minor surface depressions where practical, and postpone seeding if the soil remains waterlogged after ordinary rain.
Success appears first as continued emergence and seedlings that remain upright between waterings. Failure signs include seed collecting downhill, algae or persistent slime on the surface, widening dry cracks, repeated puddling, and seedlings collapsing in consistently wet areas. Newly emerged grass should not be mowed until it is tall enough for the mower to remove only a modest portion of the blade. Use a sharp blade, turn gently, and keep heavy equipment off damp soil.
A full restart makes sense when failure is widespread and tied to poor grading, severe compaction, incompatible seed, or a planting date that leaves too little suitable weather for establishment. Otherwise, targeted repair preserves successful seedlings and costs less. Keep the same seed blend where possible so repaired areas match the existing color, texture, and growth rate. Continued notes about watering and emergence can also prevent another episode of Grass seed failing to sprout evenly during future overseeding.
Frequently Asked Questions
Should I add more seed where only a few blades have appeared?
Wait until the slowest species in the mixture has passed its expected germination window. If new seedlings are still appearing, adding seed may create an overcrowded patch.
Can grass seed germinate after drying out?
Seed that has not begun absorbing water may remain viable, but drying after germination starts can damage the emerging root. Inspect several seeds and restore consistent surface moisture before deciding to reseed.
Why is seed sprouting better in low spots?
Water and loose seed often move downhill and collect in depressions. Shorter irrigation cycles, surface leveling, and gentle firming can reduce movement without burying the seed.
Will spreading topsoil over bare areas fix uneven germination?
A thin layer can repair eroded depressions, but a heavy covering may bury seed too deeply. Loosen the existing surface, sow at the labeled rate, and press the seed into contact instead.
Can I walk on newly germinated grass to water it?
Limit traffic because young roots detach easily and footprints compact damp soil. Use a hose arrangement or sprinkler placement that lets you water without repeatedly crossing the seeded area.
Conclusion
Uneven emergence is best handled as a pattern to diagnose, not a signal to scatter more seed immediately. Compare successful and bare areas, inspect seed placement, verify moisture at the shallow seed zone, and account for the slowest species in the mixture. Correct sprinkler gaps, runoff, crusting, or excessive burial before making another application.
Reseed only patches that show no continuing progress and contain missing, decayed, or clearly nonviable seed. Use the labeled repair rate, maintain firm contact with the surface, and protect slopes from washout without smothering them. If poor results cover most of the site, investigate compaction, drainage, recent herbicide use, planting season, and seed storage before restarting. Those checks separate a repairable watering or placement problem from a site condition that will defeat another sowing.


