
by Alina Pierce | Apr 5, 2026 | gardening
Gardening year round is achievable with the right strategies, including selecting appropriate plants, utilizing season-extending techniques, and understanding local climate conditions. By adapting your gardening practices to each season, you can enjoy fresh produce...
by Alina Pierce | Apr 4, 2026 | gardening
To improve garden yield, focus on optimizing soil health, selecting the right plants for your environment, and implementing effective watering and pest management strategies. Understanding your garden's unique conditions can lead to a significantly better...

by Alina Pierce | Apr 4, 2026 | gardening
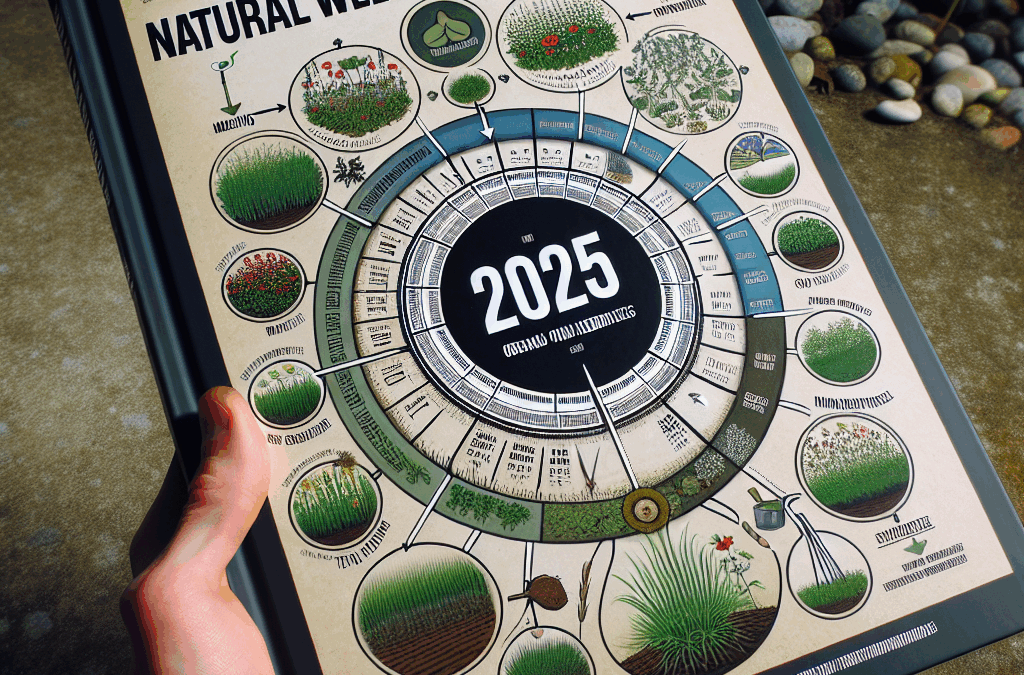
To rotate crops effectively in your garden, plan a systematic schedule that alternates plant families each season, enhancing soil health and reducing pest issues. Prioritize legumes to replenish nitrogen, and avoid planting the same family in consecutive seasons to...

by Alina Pierce | Apr 3, 2026 | gardening
Building raised garden beds can transform your gardening experience, offering better soil control, improved drainage, and easier access for planting and maintenance. By selecting the right materials and following key construction techniques, you can create an...

by Alina Pierce | Apr 3, 2026 | gardening
Starting a raised garden bed can transform your gardening experience, offering better soil control, improved drainage, and easier maintenance. This guide walks you through essential steps, common pitfalls, and the best practices for successful raised bed gardening....


 Organic Gardening