
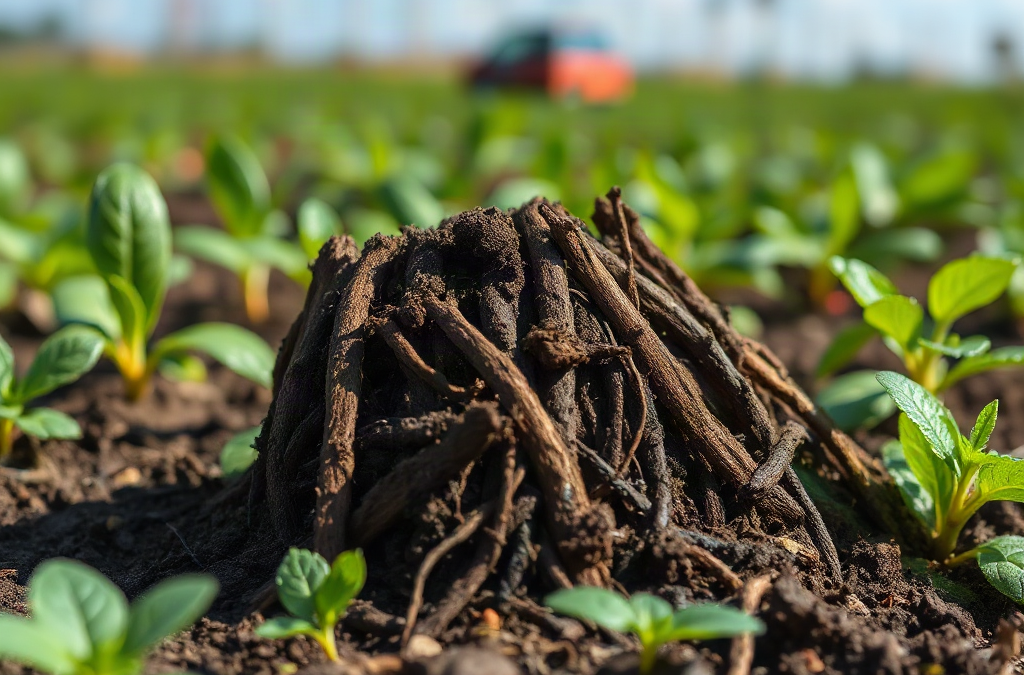
Steps to take when your compost is too wet include opening the pile for airflow, mixing in dry carbon-rich material, and pausing added moisture until the texture becomes loose and damp rather than saturated. Excess water fills the air spaces that compost microbes need, which can slow decomposition and create sour odors. Turn the wet center toward the outside, remove any pooled liquid, and add shredded cardboard, dry leaves, straw, or untreated wood chips in measured layers. Check the pile again after a day or two; a healthy batch should hold together briefly when squeezed but should not drip. If the problem returns, cover the pile from rain and balance future food scraps with dry browns.
Recognizing Excess Moisture In A Compost Pile
Compost should feel evenly damp, much like a wrung-out sponge, rather than muddy, dripping, or compressed into dense clumps. A wet surface after rainfall does not always mean the whole pile is saturated, so test the material several inches below the top. If the handful releases water, smells sour or rotten, or remains in a heavy lump after you open your fingers, moisture has probably displaced too much air.
Air spaces matter because aerobic decomposers need oxygen to break down kitchen scraps, leaves, and other organic material. Waterlogged pockets restrict that oxygen, shifting conditions toward slower, less pleasant decomposition. The pile may become slimy, compacted, or noticeably cool even though plenty of food remains available. A sharp ammonia smell can point to an imbalance involving nitrogen-rich material, while a sour odor often accompanies limited airflow and saturated conditions.
Check the source before adding anything. A pile can become wet from several days of rain, a container with no drainage, large amounts of juicy fruit, or a fresh layer of grass clippings. These causes require slightly different responses. Rain exposure calls for a cover or better location; a scrap-heavy mix needs dry carbon; compacted material needs turning as well as absorbent ingredients.
A common mistake is judging the pile only by its outside layer. The edges may look dry while the center is anaerobic and soggy. Push a garden fork into the middle, inspect the lower section, and note whether liquid collects at the base. That small check prevents overcorrecting a mildly damp pile with so much dry material that decomposition pauses.
Drying Materials And Airflow Adjustments
The fastest practical correction is usually a combination of dry carbon and thorough mixing. Shredded uncoated cardboard, dry leaves, straw, chopped corn stalks, and untreated wood chips can absorb some excess water while creating air channels. Use dry leaves or shredded cardboard when you want relatively quick blending; use coarse straw or small wood chips when the pile is dense and needs longer-lasting structure.
Spread the wet compost into a shallow layer if space allows, then blend in dry material before rebuilding it. This exposes trapped moisture and avoids creating a dry shell around a waterlogged center. For a small household bin, add a few inches of shredded cardboard or dry leaves, mix deeply, and reassess rather than dumping in a large amount at once. A very wet pile may need repeated additions because soft food scraps can release more liquid as they break down.
Turning is equally important. Move material from the middle to the outside and bring the outer material inward, breaking apart mats as you work. A pitchfork is useful for an open heap, while a hand cultivator may be safer for a small enclosed bin. If the bottom is saturated, lift the pile onto a well-drained surface or remove visibly pooled liquid; do not leave the lower layer pressed against impermeable ground.
Dry material is not automatically better in every quantity. Too much fine cardboard can form another mat, and a heavy layer of wood chips may slow the breakdown of a small batch. The useful target is a loose, mixed texture with visible air gaps. If the pile still collapses into paste after turning, add more coarse browns. If it becomes dusty and difficult to squeeze into a loose ball, add a small amount of moist finished compost or lightly moistened organic material instead of soaking the whole pile.
For related moisture decisions, see these steps to take when your compost is too wet alongside guidance on balancing fresh scraps with dry browns.
Fixing The Cause Without Stalling Decomposition
Correcting texture is only half the job; the input pattern must change or the same problem will return. Fresh vegetable trimmings, melon rinds, coffee grounds, and grass clippings contain considerable water. They can be composted successfully, but a thick layer of any one of them tends to settle and block airflow. Mix wet additions with a similar volume of dry, bulky material rather than placing them in separate layers.
Rain is a different problem from overwatering. An uncovered heap may repeatedly swing between soaked and dry, especially when the sides are exposed. A breathable cover, roofed bin, or sheltered location can reduce direct rainfall while still allowing some ventilation. Avoid sealing the pile in airtight plastic, which may trap condensation and further limit oxygen.
Container design also deserves attention. A tumbler that is packed tightly can remain wet even when turned, because the contents cannot separate into open pockets. A plastic bin without drainage holes may collect liquid at the base. In that situation, adding more cardboard treats the symptom but not the reservoir of water. Improve drainage, raise the container slightly, or transfer the material to an aerated heap.
Do not add lime, chemical fertilizer, or large quantities of soil as a quick odor treatment. Such additions do not replace missing air space and can disrupt the compost’s balance. Fresh manure also deserves caution: it adds moisture and nitrogen, and its appropriate handling depends on the material and intended use. The more reliable sequence is physical correction first—drainage, coarse structure, and turning—followed by restrained feeding.
A useful operating rule is to keep a dry-material supply beside the compost area. When a bucket of food scraps goes in, cover it with leaves or shredded cardboard and mix the surface. This is less disruptive than waiting until the entire pile becomes slick. If you compost mainly in a small kitchen system, freezing or draining very wet scraps briefly can reduce the liquid load, although it should not replace balanced ingredients.
Use this internal reference when comparing options: steps to take when your compost is too wet are most effective when they address both water and structure.
Checking Recovery And Preventing Another Wet Batch
Recovery is shown by texture, smell, temperature trend, and visible structure—not by a single quick observation. After mixing in dry browns, inspect the pile after roughly 24 to 72 hours. The material should separate more easily, odors should become less offensive, and the center may begin warming if enough decomposable material remains. A pile that stays cold is not necessarily failing; a small or mostly woody batch may decompose slowly. The key question is whether it is becoming airier and less saturated.
Squeeze several handfuls from different locations. Properly damp material may hold its shape briefly, but it should not drip. If water emerges, repeat a modest addition of dry carbon and turn again. If the contents are dry, brittle, and inactive, moisten lightly while mixing rather than pouring water over the top. That approach distributes moisture instead of creating another wet bottom layer.
Finished compost should be dark and crumbly, with most recognizable scraps gone and an earthy smell. Do not use odor alone to decide that a batch is ready. A wet pile may smell less strongly after being left untouched while still containing undecomposed food and compacted pockets. Let it finish curing after active decomposition slows, and screen out large woody pieces for another cycle.
Keep a simple maintenance checklist near the bin:
- Cover the pile against heavy rain while preserving ventilation.
- Pair juicy scraps with dry leaves, shredded cardboard, or another carbon source.
- Break up clumps and turn the center whenever the texture becomes dense.
- Check drainage at the base before adding more ingredients.
- Pause new wet inputs if the existing batch is already saturated.
The most common failure is making one dramatic correction and then returning to the old feeding pattern. A pile may appear improved after a large amount of cardboard, but fresh scraps can recreate the problem within days. Smaller, regular adjustments are easier to judge and usually preserve better contact between decomposers and their food.
For a final comparison of moisture, structure, and feeding choices, revisit these steps to take when your compost is too wet before rebuilding the pile.
Frequently Asked Questions
How can I tell whether compost is too wet?
Take material from the center and squeeze it. It is too wet if water drips out, the contents feel slimy, or the handful stays as a dense mud-like lump.
What is the best dry material for a soggy compost pile?
Shredded cardboard, dry leaves, and straw are practical choices. Use coarse material when the pile is compacted, and mix it through rather than leaving it as a surface layer.
Should I stop adding food scraps to wet compost?
Pause especially wet additions until the texture improves. Resume gradually by mixing each new batch with dry carbon-rich material.
Can turning alone dry out compost?
Turning can release trapped moisture and restore air channels, but a saturated pile often needs dry, bulky material or improved drainage as well.
Why does wet compost smell bad?
Excess water fills air spaces and encourages oxygen-poor decomposition, which may produce sour or rotten odors. Aeration, dry structure, and rain protection usually address the underlying conditions.
Conclusion
A wet compost pile needs air, structure, and a correction to the moisture source. Inspect the center rather than judging the surface, then blend in dry leaves, shredded cardboard, straw, or another suitable carbon-rich material while turning the pile thoroughly. Check drainage and protect the heap from direct rain if weather is responsible. Give the revised mix a day or two before deciding whether it needs another measured adjustment.
Future inputs determine whether the improvement lasts. Combine juicy scraps with dry browns, avoid thick layers of grass or food waste, and keep a small reserve of absorbent material beside the bin. A loose, damp texture and a gradually cleaner smell are better recovery signs than a single burst of heat. If the pile repeatedly becomes saturated, improve the container or location instead of continually adding more dry material.
Further Reading
Authoritative Sources
- EPA Safe Pest Control
epa.govOfficial information for safer pest-management decisions.
- USDA National Agricultural Library
nal.usda.govAgricultural and plant-science research resources.
- USDA NRCS Soil Resources
nrcs.usda.govOfficial soil health, conservation, and water-management information.
- Cooperative Extension Gardening Resources
extension.orgResearch-based gardening, soil, plant-care, and home-growing education.


