
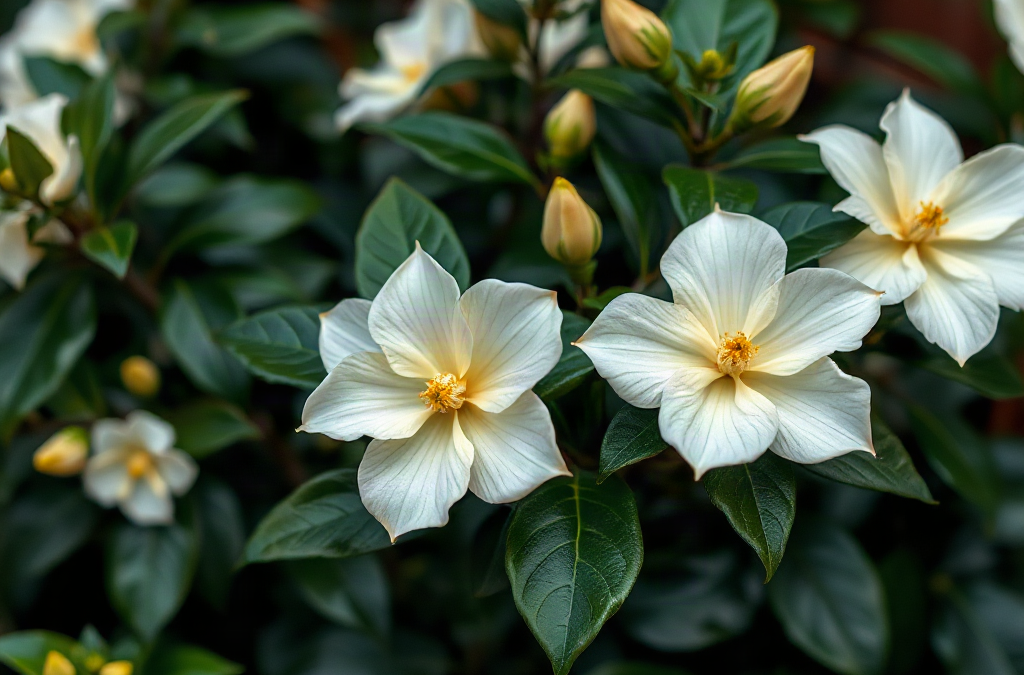
Gardenias outdoors withstand transplanting best when their root balls remain intact, the planting depth matches the nursery depth, and moisture stays even without leaving the roots waterlogged. Prepare an acidic, well-drained site before moving the shrub, transplant during mild weather, and shield recently disturbed foliage from hot afternoon sun and drying wind. Water the entire root zone deeply, then wait until the upper soil begins to lose moisture before watering again. Yellow leaves, wilting, or bud drop may occur temporarily, but worsening symptoms call for checks of drainage, root-ball moisture, planting depth, and exposure before fertilizer is added.
How Should the Site Be Prepared Before Moving a Gardenia?
Site preparation should be completed before the gardenia leaves its container or original location, because exposed roots begin losing moisture immediately. Gardenias favor acidic conditions, good drainage, steady moisture, and protection from harsh environmental swings. A location that misses one of those requirements can keep the shrub under pressure long after the initial move.
Choose a bed that drains after rain but does not become powder-dry between waterings. Gardenias commonly perform well around a soil pH of 5.0 to 6.0. When the pH is substantially higher, iron and other nutrients may become less available even when they are present in the soil. That can produce pale leaves with greener veins, but adding fertilizer without testing does not correct poor drainage or an unsuitable pH.
A soil test is more useful than guessing with sulfur, acidifying products, or amendments. If adjustment is needed, make it according to the test guidance rather than placing concentrated material against the roots. Incorporate organic matter across a broad planting area only when it improves the existing soil structure. Filling one small hole with rich, highly amended material can create a sharp boundary that holds water or discourages roots from entering the surrounding native soil.
Light exposure must account for local heat. Morning sun with some afternoon protection is often a practical choice in hot climates, while excessive shade can reduce flowering and produce sparse growth. A shrub moved from a sheltered nursery or patio directly into intense all-day sun may lose water through its leaves faster than its disturbed roots can replace it. Wind near a wall corner, open lawn, or paved area can intensify the same imbalance.
Mild, settled weather offers a better transition than a period of heat, frost, or drying wind. Spring after severe cold has passed or autumn with enough time for roots to establish may work, depending on the local climate. In areas where gardenias are near the edge of their cold tolerance, spring planting usually gives the roots more time before winter.
Before digging, confirm that the prepared hole is no deeper than the root ball and roughly two to three times as wide. Have water and mulch ready. The common mistake is moving the shrub first and then leaving its root ball exposed while the location is altered.
How Do You Plant a Gardenia Without Damaging the Root Ball?
Preserving fine roots and keeping the root flare at the correct height are the priorities during planting. Fine feeder roots supply much of the water needed by the foliage, so crushing, drying, or aggressively untangling them increases the chance of wilt and leaf loss.
Water a container-grown gardenia several hours before removal if the mix is dry. It should be evenly damp rather than saturated. Support the root ball while sliding away the pot; do not pull the shrub by its stems. If roots circle densely around the outside, make a few shallow vertical cuts or gently loosen only the outer layer. A lightly rooted ball should be left largely intact because unnecessary disturbance creates damage without providing a useful benefit.
For an established gardenia being moved within the yard, retain as broad and cohesive a root ball as practical. Cut around it cleanly with a sharp spade, lift from beneath, and transfer it on a tarp or sturdy support. Avoid shaking away the soil. A large specimen may be too heavy to move safely or may lose too much of its root system; reducing that risk can matter more than selecting the quickest moving method.
Set the shrub so the top of the root ball is level with, or slightly above, the surrounding grade. The trunk base should remain visible. Planting deeply limits oxygen around the upper roots and directs irrigation toward the stem, while planting far above grade exposes the root ball to rapid drying. Backfill with the excavated soil in stages, firming it gently by hand to remove major air pockets without compacting it.
Water immediately and slowly enough to wet the backfill and original root ball. If the shrub settles below grade, lift and reset it rather than piling more soil around the stem. Stakes are rarely necessary for a compact shrub unless the root ball shifts in wind; unnecessary ties can rub branches and mask an unstable planting job.
A short planting check prevents several avoidable failures:
- Keep the root ball shaded and damp while it is out of the ground.
- Match the original growing depth and leave the stem base uncovered.
- Remove pot material, tags, wire, and restrictive ties from the root area.
- Backfill with soil rather than fertilizer or concentrated compost.
- Soak both the root ball and adjacent soil before applying mulch.
How Much Water and Mulch Does a Transplanted Gardenia Need?
Watering frequency should follow root-zone moisture rather than a fixed calendar. A newly planted gardenia has a limited root system, yet wet soil can exclude oxygen and damage those same roots. The aim is a thoroughly moistened root ball followed by a modest drying interval, not continuous saturation or repeated surface sprinkling.
Check moisture in two places: inside the original root ball and in the surrounding soil. The materials may dry at different rates. A peat-heavy nursery mix can dry while dense native soil beside it remains wet, or it can stay saturated inside even though the bed surface looks dry. Insert a finger or a narrow wooden probe several inches down near the outer portion of the root ball. Water when the upper layer is beginning to dry but deeper material remains slightly moist.
Apply water slowly over the root ball and the backfilled area. A hose at low flow or a drip arrangement allows water to penetrate instead of running away. During warm, dry weather, checks may be needed every day or two at first, but that does not mean water is required each time. Rainfall, soil texture, shade, container mix, shrub size, and wind all change the interval. As new roots enter the bed, watering can become less frequent and cover a wider area.
Spread about two to three inches of organic mulch over the planting zone, tapering it near the shrub. Pine bark, pine straw, or leaf-based mulch can limit evaporation and moderate temperature changes. Leave several inches clear around the stems. Mulch pressed against the crown keeps bark damp and makes the true planting depth difficult to see.
Fertilizer is not a rescue treatment for transplant shock. A stressed root system cannot necessarily use extra nutrients, and concentrated salts may worsen root injury. Wait for evidence of establishment, such as firm new growth, and follow soil-test or product guidance suited to acid-loving shrubs. Likewise, avoid heavy pruning merely to “balance” the roots. Remove broken, dead, or badly damaged branches, but retain healthy leaves that supply energy for root recovery.
Progress is gradual. Leaves that remain firm through the warmer part of the day, stable color, and eventual new shoots indicate improving water uptake. Persistent midday collapse, sour-smelling wet soil, or a root ball that stays either dusty or saturated signals that the watering method needs correction.
What Do Wilting, Yellow Leaves, and Bud Drop Mean?
Post-transplant symptoms should be interpreted with soil conditions and timing, because the same visible symptom can have opposing causes. Wilting may result from dry roots, waterlogged roots, heat, or root loss. Responding to every wilted leaf with more water can turn temporary heat stress into a drainage problem.
| Visible sign | What to check first | Practical response |
|---|---|---|
| Wilt with dry root ball | Moisture several inches deep | Water slowly through the full root zone and recheck penetration |
| Wilt with wet soil | Drainage, planting depth, and standing water | Pause irrigation and correct trapped water or excessive depth |
| Yellow older leaves | Recent disturbance and moisture swings | Stabilize care and watch whether yellowing slows |
| Pale new leaves with green veins | Soil pH and root condition | Test the soil before applying iron or acidifying products |
| Falling buds | Heat, dryness, relocation, and abrupt moisture changes | Reduce environmental swings rather than forcing bloom with fertilizer |
A limited number of yellowing older leaves or dropped buds can occur while the shrub redirects resources toward damaged roots. Buds are especially vulnerable to a sudden move, irregular moisture, hot wind, or a sharp change in light. Recovery should be judged by the direction of change: symptoms that level off are less concerning than yellowing that advances rapidly through new foliage.
Inspect the physical planting before buying corrective products. Confirm that water reaches the center of the root ball, the crown is not buried, and runoff does not collect in the hole. Check whether afternoon sun is scorching leaves that developed under shade. Temporary shade cloth can reduce exposure during an unusually hot period, but it should not remain as a permanent substitute for a suitable site.
Do not assume every yellow leaf reflects an iron shortage. High pH can limit iron availability, but damaged roots and saturated soil can produce similar color changes by interfering with nutrient uptake. Adding chelated iron may alter appearance in a true deficiency, yet it will not repair suffocated roots. A soil test and a drainage check separate those causes more reliably than leaf color alone.
Scratch a tiny area of bark on a questionable twig; green tissue beneath suggests it remains alive. Allow time before removing branches unless they are clearly dry and brittle. If the entire shrub continues to decline despite corrected moisture and exposure, inspect for root rot, major root-ball damage, or cold injury and seek advice from a local extension service familiar with regional conditions.
Frequently Asked Questions
How often should a newly transplanted gardenia be watered?
Check the root ball every day or two during the initial adjustment, but water only when its upper layer begins to dry. Apply water slowly and deeply; weather and drainage determine the actual interval.
Should a gardenia be cut back after transplanting?
Remove broken or dead wood, but avoid heavy pruning solely because the shrub was moved. Healthy foliage supplies energy needed to rebuild roots.
Is bud drop normal after moving a gardenia outdoors?
Some bud drop can follow abrupt changes in moisture, light, temperature, or root function. Stabilize conditions and avoid fertilizing in an attempt to force the remaining buds to open.
Can Epsom salt fix yellow leaves on a transplanted gardenia?
Do not apply it based on leaf color alone. Yellowing may come from wet roots, transplant damage, unsuitable pH, or a specific deficiency, so test the soil and inspect drainage first.
How long does gardenia transplant shock last?
There is no fixed recovery period. A small, intact root ball in mild weather may stabilize relatively quickly, while a dug shrub with substantial root loss can need much longer. Look for slowing leaf loss and new growth rather than relying on a deadline.
Conclusion
A gardenia’s recovery is determined mainly below the surface. Prepare an acidic, freely draining location, preserve the root ball, and keep the crown at its previous depth. During establishment, inspect moisture inside the original root mass instead of judging from the bed surface or following a rigid watering schedule.
When symptoms appear, correct physical conditions before reaching for fertilizer. Wilt in dry soil calls for thorough watering, while wilt in wet soil points toward drainage, excess irrigation, or deep planting. Protect the shrub from abrupt heat and wind, retain healthy foliage, and allow dropped buds or a few older yellow leaves to pass without drastic intervention. The next useful step is to check planting depth, root-zone moisture, drainage, and exposure in that order, then use a soil test if discoloration persists.


