
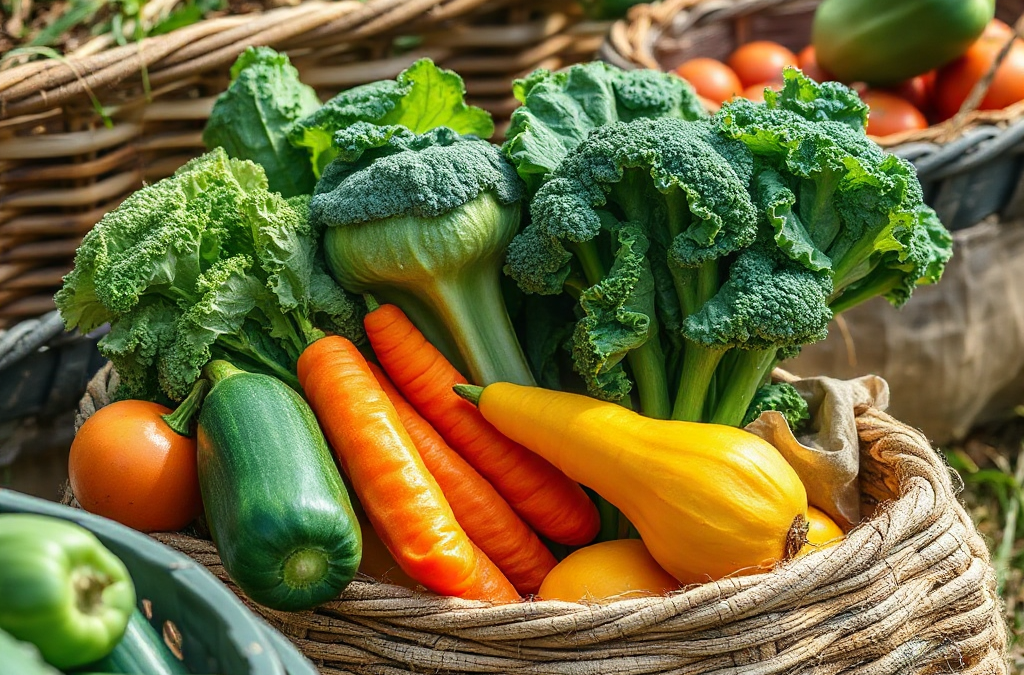
How to properly harvest and store your vegetables depends on picking each crop at the right maturity, limiting bruising, removing field heat, and matching storage conditions to the vegetable. Harvest leafy greens and tender pods while they are crisp, lift root crops carefully, and use a clean knife or pruners rather than twisting stems. Keep harvested produce shaded, sort out damaged pieces, and avoid washing items that need dry storage until you are ready to use them. Refrigeration suits many greens, while onions, garlic, winter squash, and potatoes need cool, dry, dark, ventilated spaces. Inspect stored vegetables regularly and remove decay before it spreads.
Harvest Timing and Crop-Specific Readiness
Harvest timing determines both eating quality and storage potential. A vegetable picked too early may lack flavor or size, while an overmature one may become fibrous, seedy, bitter, or vulnerable to decay. The most useful signal is not the calendar but the crop’s texture, color, firmness, and intended use.
Pick leafy greens such as lettuce, spinach, and kale when leaves are crisp and before heat causes wilting. Green beans are usually most tender when the pods are firm but the seeds inside have not enlarged. Cucumbers should be harvested before they become yellow or swollen. Tomatoes can be left to color on the plant for immediate eating, but fruit showing a slight color break can be brought indoors if cracking, pests, or cold weather is a concern.
Root vegetables require a different judgment. Carrots, beets, and radishes can remain in the soil for a period, but oversized roots may become woody or pithy. Potatoes intended for storage should have mature skins that do not rub off easily. Winter squash needs a fully developed rind and a dry, firm stem; summer squash is harvested young because its quality declines quickly when allowed to enlarge.
Check the plant in the morning after surface moisture has dried, particularly for crops that bruise easily. Harvesting in cool conditions reduces wilting, but wet foliage and muddy roots should not be packed into closed containers. A common mistake is waiting for every item in a bed to reach the same stage. Pick selectively instead: frequent harvesting keeps beans, peas, zucchini, and cucumbers producing and prevents the lower-quality specimens that are often difficult to store.
For a crop-by-crop planning reference, use how to properly harvest and store your vegetables alongside the seed packet or cultivar notes. Variety affects size, maturity, and keeping ability, so a storage plan made before planting is more reliable than trying to preserve a large surplus at the end.
A Low-Damage Harvest Routine
Handle vegetables as little and as gently as possible from plant to container. Cuts, punctures, and compression damage break protective tissue and create entry points for microorganisms. Produce may look sound on harvest day yet develop soft spots after several days because bruising is often internal.
Use a sharp knife or clean pruners for tomatoes, peppers, eggplants, squash, cabbage, and thick-stemmed greens. Support the fruit with one hand while cutting with the other, rather than pulling against the plant. Beans and peas can be snapped carefully, but twisting hard enough to tear the stem may damage both the crop and the plant. Lift root crops with a fork loosened well away from the root; pulling directly from tight soil can break the vegetable or leave part of it underground.
Place produce into shallow baskets, crates, or rigid containers instead of deep bags. A heavy layer of cucumbers or ripe tomatoes can crush the bottom layer. Separate tender produce from rough roots, and do not toss vegetables onto a table or truck bed. Shade matters immediately after picking: sunlight warms the crop, increases water loss, and shortens the time available for quality preservation.
- Bring a clean harvest container and a separate container for damaged or diseased items.
- Leave attached tops on radishes, beets, and carrots only briefly; leafy tops draw moisture from the root.
- Keep onions, garlic, and winter squash dry rather than placing them in a damp basket.
- Record unusually productive crops so future plantings can be matched to household demand and storage space.
Do not assume washing at harvest is always the cleanest choice. Washing can remove soil, but retained moisture may encourage decay in a refrigerator or pantry. For firm roots that are headed into short-term use, gently brush away loose soil and wash immediately before preparation. For storage onions, garlic, potatoes, and winter squash, curing and dryness usually matter more than a freshly scrubbed surface.
Cooling, Cleaning, and Preparing Produce
Post-harvest preparation should match the vegetable’s biology. Leafy crops lose water rapidly, so they benefit from prompt cooling and high humidity. Bulbs and storage roots need a dry surface and airflow. Treating every harvest with the same wash-and-refrigerate routine is a frequent cause of premature spoilage.
Remove field heat from greens, peas, beans, broccoli, and cauliflower as soon as practical. Refrigeration, a cool shaded room, or a brief cool-water treatment can help depending on the crop and the available equipment. After using water, drain and dry produce well. Wet leaves packed tightly into a bag often turn slimy before the leaves themselves would have aged naturally.
Trim carrot, beet, turnip, and radish tops before storage, leaving a small amount of stem if preferred. The greens continue transpiring and can pull moisture from the root. Store the greens separately and use them sooner. Do not trim potato skins or scrub potatoes before long storage; exposed or wet surfaces are more vulnerable to deterioration.
Sorting is more valuable than trying to save every item together. Use cut, cracked, insect-damaged, or overripe vegetables first. A single leaking tomato or softened zucchini can create a wet area that damages neighboring produce. Wash vegetables under clean running water shortly before eating or cooking, unless a specific preservation process calls for different handling.
A practical sequence is to harvest, sort, shade, cool the crops that need cooling, and then assign each vegetable to its storage zone. The tradeoff is convenience versus shelf life: pre-cutting or pre-washing saves preparation time, but intact, dry vegetables generally keep longer. Choose convenience for produce you will use within a day or two and preservation for the portion expected to last weeks.
Storage Conditions for Different Vegetables
Storage success comes from controlling temperature, humidity, darkness, and airflow rather than placing everything in one refrigerator drawer. Vegetables continue to respire after harvest, and warm conditions speed aging. Excess moisture encourages mold, while overly dry air causes wilting and shriveling.
Leafy greens, broccoli, cauliflower, peas, and many fresh herbs usually belong in the refrigerator. Use breathable bags or containers that limit moisture loss without trapping liquid against the crop. Lettuce and spinach should be kept away from bruising items. As a working rule, crispness is declining when leaves feel limp, edges darken, or condensation remains inside the package; use those vegetables promptly instead of waiting for visible decay.
Root crops such as carrots and beets keep better in a cool, humid environment after their tops are removed. A refrigerator drawer can work for household quantities. Potatoes need a cool, dark, dry, ventilated place and should be kept away from light, which can cause greening. Onions and garlic also require dryness and airflow; mesh bags or open baskets are more suitable than sealed plastic.
Tomatoes generally retain better flavor at room temperature than in a cold refrigerator, provided they are sound and used soon. Ripe tomatoes should be kept out of direct sun and separated from produce that is easily crushed. Winter squash needs a dry, moderately cool location with space around each piece. Summer squash, eggplant, and peppers are more perishable and usually belong in the refrigerator, although their texture can decline if held too long.
When space is limited, prioritize the vegetables that lose quality fastest: greens, peas, beans, ripe tomatoes, and tender squash. Preserve or cook the surplus before it becomes soft. Do not seal warm produce in airtight containers, and do not stack storage vegetables deeply unless the container allows ventilation. The right method is the one that fits both the crop and the conditions you can actually maintain.
Checking Stored Produce and Avoiding Waste
Stored vegetables need inspection, not abandonment. Set a regular check—every few days for tender produce and at least weekly for longer-keeping crops. Look for leaking liquid, soft spots, mold, sprouting, shriveling, unusual odor, or a damaged item touching healthy neighbors.
Remove questionable pieces promptly and clean any reusable container before refilling it. A firm vegetable with a small, clean surface blemish may be trimmed and used immediately, but vegetables with spreading mold, a foul odor, or extensive softness should be discarded rather than mixed into a meal. Do not rely on appearance alone when an item feels slimy or smells fermented.
Use a first-in, first-out arrangement. Put newly harvested produce behind older items and label baskets with the harvest date when several batches are involved. This simple habit prevents the common failure of finding a forgotten box only after the entire bottom layer has decayed.
Keep an honest record of what stores well in your home. A cool basement, warm kitchen, humid refrigerator, and dry pantry produce different results, even for the same crop. If potatoes sprout quickly, the location may be too warm or exposed to light. If onions soften, humidity or poor airflow is more likely than a harvesting problem. If greens wilt, they may need faster cooling or better moisture retention.
Use how to properly harvest and store your vegetables as a repeatable household routine: pick selectively, protect the crop from impact, sort before packing, and match storage conditions to the vegetable. Small adjustments made on harvest day usually prevent more waste than elaborate storage equipment added later.
Frequently Asked Questions
Should vegetables be washed before storage?
Usually not if they need dry storage. Brush off loose soil, keep them dry, and wash shortly before use. Greens and other refrigerated crops should be drained and dried thoroughly if washed.
What time of day is best for harvesting?
Cool morning conditions are often suitable, after surface moisture has dried. Avoid harvesting wet produce for closed storage because trapped moisture can accelerate decay.
How should root vegetables be prepared for storage?
Remove the leafy tops, handle roots gently, and separate damaged pieces. Store firm roots in a cool, humid environment, such as a refrigerator drawer for modest household quantities.
Can tomatoes be stored in the refrigerator?
Sound tomatoes generally keep better at room temperature for flavor and texture. Refrigerate only when extending the life of fully ripe fruit is more important than preserving peak texture.
Why do stored onions become soft?
Excess humidity, poor airflow, injury, or insufficient drying can cause softness. Keep onions dry in a ventilated container and remove any that begin to decay.
Conclusion
Good storage begins before a vegetable enters the house. Harvest each crop at a useful maturity, use tools and containers that reduce tearing and pressure, and move tender produce out of heat quickly. Sort the harvest before packing so damaged items do not spoil sound ones. Refrigerate greens, peas, beans, and many tender vegetables, but give potatoes, onions, garlic, and winter squash the dry, dark, ventilated conditions they need. Check stored produce on a schedule and adjust for what your own pantry, basement, or refrigerator actually does. The next harvest is a chance to improve the system: pick a little more selectively, record what lasted, and change the storage zone when the signs of failure point to moisture, warmth, light, or bruising.


