
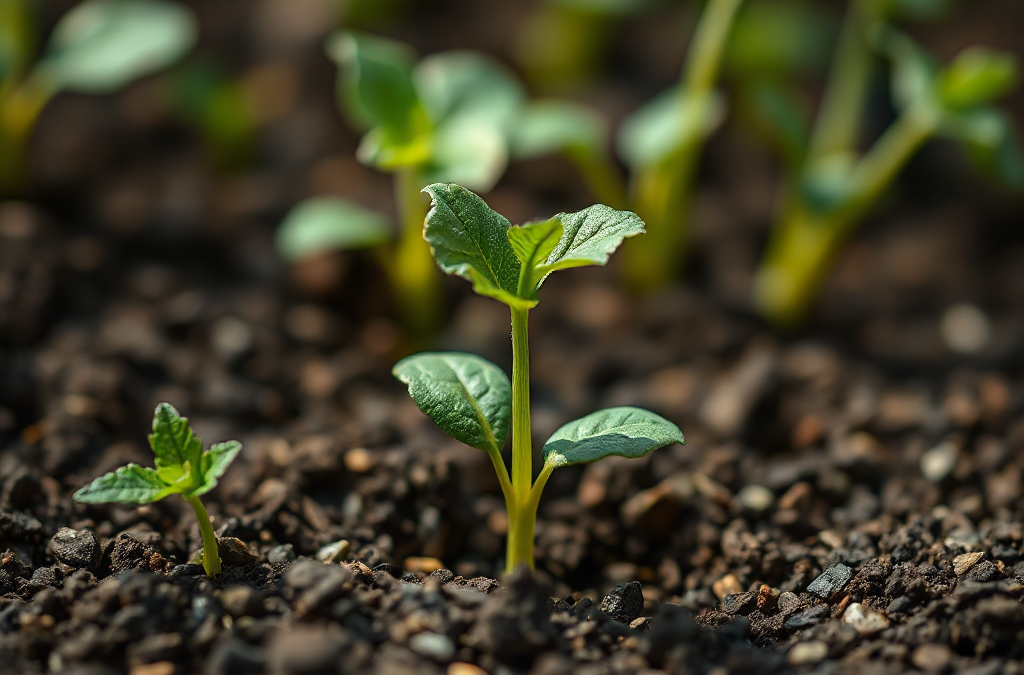
When seeds fail to germinate, check seed viability, planting depth, moisture, temperature, and the expected germination window before replanting. Old or poorly stored seed may never sprout, while compacted soil, buried seed, drying containers, or saturated mix can stop the embryo from developing. Compare the packet’s timing with the number of days since sowing, then inspect a few seeds carefully rather than disturbing the entire tray. Correct the specific problem, reseed with fresh seed if viability is doubtful, and keep the medium evenly moist without leaving it waterlogged. A simple paper-towel test can reveal whether remaining seed is capable of producing roots.
Check Whether Germination Is Actually Late
Seeds that appear to have failed may simply be slower than the packet estimate. Germination times are usually ranges rather than promises, and temperature has a strong effect on how quickly an embryo resumes growth. A warm-season crop sown in cool indoor soil may remain dormant for days, while some herbs and flowers naturally take longer than quick crops such as radishes or lettuce. Count from the day the seed was first kept consistently moist, not necessarily from the day it was placed in a dry container.
Read the seed packet before changing anything. Look for the expected temperature, sowing depth, light requirement, and usual germination period. A tray that is only one or two days beyond the listed range may need patience, especially if nights are cool. A tray that is well past the range, has dried repeatedly, or contains swollen seeds with no roots deserves closer inspection.
Do not dig through every cell immediately. Probing can break a developing root or move a seed too deeply. Instead, inspect one edge cell or a spare seed from the same packet. A viable seed may be swollen, split, or showing a small white root. A soft, foul-smelling seed points toward decay, while a hard, unchanged seed suggests that water has not reached it or that it is no longer viable.
Timing also varies with the sowing environment. A windowsill can be bright but cold at night; a covered tray can stay warm but become excessively wet. Compare the actual conditions with the crop’s needs rather than assuming that visible light equals suitable germination conditions. The advice in what to do when seeds fail to germinate is most useful when the expected timing and growing conditions are considered together.
Find the Condition That Stopped Sprouting
Water, temperature, oxygen, and planting depth control the early stages of germination. A seed must absorb enough water to activate its metabolism, but it also needs oxygen for respiration. Soggy mix fills air spaces with water and can deprive the seed of oxygen; dry mix stops the process before the root emerges. Either extreme can produce an empty-looking tray.
Moisture should feel even throughout the seed zone, not merely wet on the surface. Small cells can dry quickly near a heater or sunny window, while a heavy pot may remain saturated underneath. Water from below when appropriate, or use a gentle stream that does not wash seeds into corners. If water runs straight through a dry, peat-based mix, rewet the medium gradually rather than flooding it once.
Planting depth is another frequent failure point. A seed buried too deeply may exhaust its stored energy before reaching light, while a seed left on a dry surface may never absorb enough water. Follow the packet’s depth guidance; for very small seed, pressing it onto the surface and covering it lightly can be more appropriate than making a deep furrow. Firm contact with the medium matters, but compacting the soil until it becomes dense reduces air exchange.
Temperature problems are often mistaken for bad seed. A cool-season crop may tolerate lower temperatures, but warm-season crops such as peppers, eggplants, and many squash varieties generally need warmer conditions than an unheated room provides. A heat mat with a thermostat can be useful for a controlled indoor setup, while placing trays on an unregulated hot surface risks overheating and drying them. Remove humidity covers once seedlings emerge or when condensation remains heavy; constant wetness encourages decay rather than faster sprouting.
Light usually matters after emergence, although some seeds have specific light or darkness requirements during germination. Check the packet before covering seed. Avoid adding fertilizer to a tray of unsprouted seed: concentrated salts can damage the emerging root, and nutrients cannot compensate for incorrect moisture or temperature.
Test Seed Viability Before Replanting
Seed viability declines with age, heat, humidity, and poor storage. A packet kept in a cool, dry place may remain useful beyond a single season, while seed stored in a warm shed or damp garage can lose vigor much sooner. Viability and vigor are related but not identical: viable seed can sprout, whereas vigorous seed tends to emerge more quickly and uniformly.
A paper-towel test gives a practical answer before you use more potting mix. Moisten a clean paper towel, place a known number of seeds inside, roll or fold it loosely, and keep it in the temperature recommended for that crop. Check it at the packet’s expected germination time. Count seeds that produce a healthy root, then use that result to decide whether to sow more thickly or replace the packet. Keep the towel damp, not dripping, and label the test so different varieties are not confused.
This test is useful for older seed, saved seed, and packets that have been exposed to uncertain storage. It is not a perfect substitute for a controlled laboratory test, and some species respond poorly to being handled after sprouting. For a home garden, however, it can prevent repeated sowing of a packet that has clearly lost viability.
Inspect seeds for physical clues as well. Insect damage, cracked seed coats, mold, or a rancid smell can indicate storage or contamination problems. Do not assume that every failure is caused by the gardener; a packet may have been weak before sowing. At the same time, do not discard a whole variety based on one failed cell. Compare a paper-towel sample with the original sowing conditions.
If only a few seeds sprout, retain the strongest seedlings and reseed with fresh material rather than repeatedly disturbing the tray. Fresh seed costs less than losing a planting window, particularly for crops that need a long season. For a small quantity of expensive seed, improving the environment and testing viability first may be more sensible than replacing it immediately.
Reset the Sowing Method and Monitor Progress
Once the likely cause is identified, make one controlled correction instead of changing several variables at once. If the medium dried, rewet it evenly and move the container away from a heat source. If it stayed saturated, improve drainage, remove standing water, and consider resowing into fresh, airy mix. If temperature was low, provide a stable warmer location suited to the crop. A single clear adjustment makes it easier to tell whether the problem has been fixed.
For a new sowing, use clean containers with drainage holes and fresh, fine-textured seed-starting medium. Moisten the medium before placing seeds so the first watering does not dislodge them. Label the crop and date, sow at the correct depth, and cover the container only when humidity control is needed. Check daily for surface drying, condensation, and the first signs of emergence. The goal is steady moisture and air exchange, not a permanently sealed miniature greenhouse.
A compact recovery checklist can keep the next attempt deliberate:
- Confirm the crop’s germination range and temperature preference.
- Check whether the seed zone is dry, saturated, compacted, or too deep.
- Test questionable seed with a labeled paper-towel sample.
- Resow with fresh seed when viability is low or the planting window is closing.
- Record the container, medium, date, depth, and location for comparison.
Watch for signs that the correction is working: seeds swell, the coat splits, roots appear, or the surface lifts slightly. Signs of continuing failure include unchanged seeds after the expected window, repeated drying, standing water, sour odors, or fuzzy growth. Mold on the surface does not always mean every seed is lost, but it signals excessive moisture and poor airflow. Remove affected debris carefully and correct the environment before sowing again.
Outdoor beds require a different comparison. Rain can crust the surface, birds may remove seed, and soil temperatures can fluctuate sharply. A thin covering such as horticultural fleece or a fine mesh may protect a bed, but it should not block air or trap excessive heat. For small seeds, a marked row and gentle watering are often more reliable than scattering seed broadly. These practical checks complement what to do when seeds fail to germinate without treating every unsuccessful tray as the same problem.
For crop-specific germination temperatures, sowing depths, and expected timing, consult the seed packet first, then compare it with growing information from a local university extension service, botanical garden, or seed company with published cultivation details. Those sources are more useful than a universal timetable because germination behavior differs substantially among crops and varieties.
Frequently Asked Questions
How long should I wait before resowing?
Wait through the upper end of the packet’s germination range when moisture and temperature have been suitable. Resow sooner if the seed zone repeatedly dried, seeds show decay, or a short planting window is approaching.
Can overwatering stop seeds from germinating?
Yes. Waterlogged medium contains less oxygen and can encourage seed rot. Keep the mix evenly damp, use drainage holes, and empty trays that hold standing water.
Should I dig up seeds to see whether they sprouted?
Usually not. Disturbing a developing root can kill a seedling. Inspect one sample from an edge cell or use a separate viability test instead.
Does old seed always need to be thrown away?
No. Storage conditions matter more than the printed age alone. Test a sample, then sow more thickly or replace the packet if few seeds produce healthy roots.
Why do seeds sprout indoors but not outdoors?
Outdoor beds face colder soil, crusting, uneven moisture, insects, birds, and fluctuating weather. Measure or estimate soil conditions and protect small sowings while they establish.
Conclusion
Unsuccessful germination becomes easier to diagnose when you separate timing from true failure. Check the crop’s expected range, then examine moisture, temperature, depth, drainage, and seed condition in that order. A paper-towel test can distinguish weak seed from a poor sowing environment, while a fresh, lightly textured medium and steady moisture give the next attempt a cleaner start. Avoid digging through every cell or adding fertilizer before roots appear; both actions can create more damage without correcting the cause. Record what you changed and what happened. That simple comparison turns a disappointing tray into useful information for the next sowing and helps you decide when patience is justified and when replacing the seed is the practical choice.


