
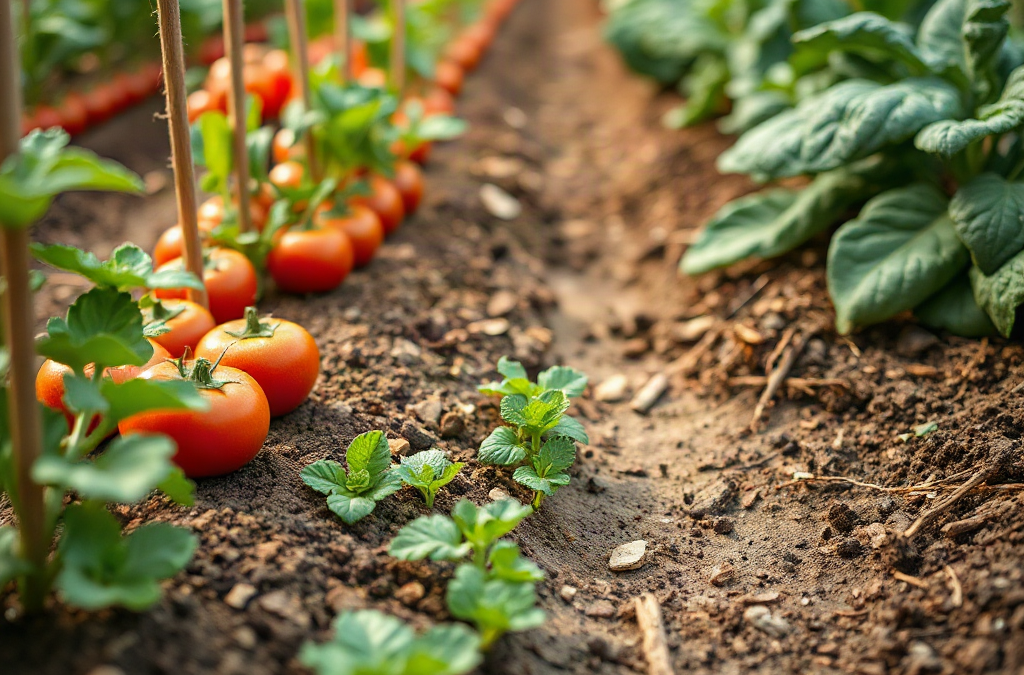
Select the right spacing for vegetable crops by using each variety’s mature width as the baseline, then adjusting plant and row distances for the growing method, airflow, sunlight, soil fertility, and access. Seed-packet figures usually describe conventional rows, so raised beds and intensive layouts may use closer centers when leaves will not remain crowded. Give sprawling squash, indeterminate tomatoes, and humid-climate crops extra room; trellised cucumbers and frequently harvested greens can often occupy less ground. Mark spacing before sowing, thin seedlings promptly, and watch for overlapping foliage, slow drying, weak growth, or difficult harvesting—signs that the crop arrangement is too dense.
Base Spacing on Mature Plant Size
Mature plant width is the most dependable starting point because seedlings reveal little about the space their leaves and roots will eventually occupy. Two tomato transplants may look interchangeable in spring, yet a compact patio cultivar and a vigorous indeterminate cultivar create very different canopies by midsummer. Read the variety description rather than relying only on a crop-wide rule. Terms such as bush, dwarf, compact, vining, determinate, and indeterminate often indicate how aggressively the plant will occupy its allotted area.
Plant spacing usually means the center-to-center distance between neighboring plants. If lettuce is placed 8 inches apart, measure from the center of one plant to the center of the next, not from the outer leaf edges. This distinction matters when marking an empty bed because the plants have not yet produced their mature foliage. Row spacing is a separate measurement: it preserves a path or open strip for cultivation, harvest, light penetration, and air movement.
The harvested stage also changes the required distance. Carrots grown for slender roots can stand closer than carrots intended to reach full storage size. Leaf lettuce harvested young can form a dense patch, while full heads need enough room to close without pressing tightly against their neighbors. Similarly, onions grown as scallions require less space than bulb onions. Decide what size and harvest method you want before converting a recommendation into a planting plan.
Root dimensions matter, but visible canopy width is usually the practical limit. Radishes may have small leaves and roots, whereas winter squash sends long vines far beyond its original planting point. Broccoli develops a broad leaf rosette even though the edible head is concentrated in the center. Giving only the harvested part enough room is a common mistake: crowded leaves intercept one another’s light, stay wet longer after irrigation, and make inspection for pests more difficult.
Use the seed packet, plant label, or cultivar description as the first reference, then compare it with regional university extension guidance if local humidity, heat, or disease pressure is a concern. A sound approach to how to select the right spacing for vegetable crops begins with the named variety and intended harvest stage, not a single universal chart.
Translate Packet Directions Into a Bed or Row Plan
Spacing instructions must be interpreted according to the layout in which they will be used. A packet might call for plants 12 inches apart in rows 24 inches apart. The larger row distance often includes working room for hoeing, picking, irrigation lines, or mechanical cultivation; it does not necessarily mean every plant needs a 24-inch circle of bare ground. In a raised bed that can be reached from both sides, plants may be arranged in an offset grid while paths remain outside the growing area.
Offset, or staggered, placement uses the bed efficiently without aligning every plant in straight crosswise rows. For crops set 12 inches on center, place the next row so its plants sit opposite the gaps in the first row. Each plant then has a more even share of soil and canopy space. This layout suits lettuce, beets, bush beans, and similar crops in beds that are narrow enough to tend without stepping on the soil.
Traditional rows remain the better choice when access through the crop matters. Staked tomatoes need room for tying and picking. Pole beans require access to both sides of a support. Potatoes may need soil hilled along the row. Closely spaced bed grids can produce more plants per square foot, but they become a liability if the gardener cannot reach the center or move between mature foliage without breaking stems.
A compact planning sequence keeps the measurements consistent:
- Mark permanent access first. Keep walking surfaces outside narrow beds or reserve adequate aisles around wide, tall crops.
- Choose centers from the mature-size recommendation. Use the closer end of a range only when the variety, harvest stage, and conditions support it.
- Draw the mature footprint. Imagine or sketch each canopy at full size rather than planning around transplant dimensions.
- Place supports and irrigation. Install trellises where they will not shade shorter crops and position emitters near root zones.
- Count positions before planting. Buying or raising only the number that fits reduces the temptation to squeeze in extras.
Container spacing requires another translation. A pot must supply enough root volume as well as surface area, so a wide rim does not automatically make it suitable for several large plants. One vigorous tomato in a substantial container is generally more workable than several competing plants in the same pot. In contrast, quick-cut salad greens can be sown more densely because they are harvested before producing full heads. The failed assumption is that intensive planting simply means using every open inch; successful intensive planting preserves access, root resources, and a manageable mature canopy.
Adjust Distances for Crop Habit and Growing Conditions
Published spacing is a baseline rather than a promise that one distance will perform equally in every site. Air movement, soil productivity, water supply, training method, and sunlight determine how strongly neighboring plants compete. Adjustments should be deliberate and modest. Packing plants tightly to increase the initial count can reduce usable harvest if lower leaves remain shaded, foliage dries slowly, or roots repeatedly exhaust the available moisture.
Give Humid or Shaded Plantings More Air
Dense foliage traps moisture after rain and overhead watering. In a humid location or a bed receiving limited morning sun, using the wider end of the recommended range can help leaves dry sooner and make pruning or inspection easier. This consideration is especially relevant to tomatoes, cucumbers, squash, and other crops that can form thick canopies. Extra distance does not guarantee freedom from disease, but it reduces leaf-to-leaf congestion and improves access for removing damaged foliage.
A sunny, breezy site may tolerate the standard distance comfortably, while a bed beside a solid fence may need a wider layout. Observe the site rather than assuming that rich soil justifies closer planting. Fertile ground often creates larger leaves and more vigorous stems, which may require more canopy room even when nutrients are abundant.
Use Supports to Change the Footprint
Trellising redirects growth vertically and can reduce the ground area occupied by vining cucumbers, pole beans, and some squash. It does not erase spacing needs. Leaves still require light and air, roots still compete, and the support must be strong enough for the mature crop. A trellised cucumber row may occupy less bed width than vines allowed to run across the soil, but plants should not be clustered at the base of the trellis merely because the vines will climb.
Training method matters particularly for tomatoes. An indeterminate tomato pruned and tied to a sturdy vertical support can often be managed at a narrower interval than the same variety allowed to sprawl or grow through a broad cage. That closer arrangement requires regular tying, pruning decisions, and reliable watering. Gardeners who prefer low-maintenance plants should reserve the wider footprint rather than adopting spacing that assumes weekly canopy management.
Account for Water and Competition
Sandy soil and containers can dry rapidly when roots overlap heavily. Closer spacing may shade the soil surface, but the combined demand of many plants can still empty the root zone quickly during hot weather. Where irrigation is limited, fewer well-positioned plants may be more dependable than a crowded stand. Conversely, very wide spacing leaves soil exposed, encourages weeds, and wastes bed area until canopies expand. Mulch can cover that exposed surface without forcing crops closer.
For a site-specific decision about how to select the right spacing for vegetable crops, prioritize mature habit first, disease-prone humidity second, and available maintenance third. Yield per plant and yield per bed are not identical goals: tighter placement may increase the number of smaller harvest units, while wider placement may favor easier care and fuller individual plants.
Lay Out, Thin, and Evaluate the Planting
Accurate spacing is easiest to establish before seeds or transplants enter the soil. Use a tape measure, marked board, string line, or reusable planting template to identify plant centers. Eyeballing several short gaps tends to compound error across a bed; ten slightly narrow intervals can leave the final plants substantially crowded. Place transplants on the soil surface first, review the mature arrangement, and only then dig the holes.
Direct-sown crops need a different strategy because germination is rarely perfectly uniform. Sow according to the packet’s depth and seeding directions, then thin to the final interval after seedlings are established. The initial sowing distance and final plant spacing are not always the same. Beet clusters, carrots, radishes, and leafy greens commonly emerge too close together if every seedling is retained. Cut unwanted seedlings at soil level when pulling could disturb the roots of those being kept.
Thinning feels wasteful, but postponing it transfers the cost to the whole row. Crowded root crops may produce undersized or misshapen roots, while densely packed greens can stretch toward light and become harder to weed. Keep the strongest well-positioned seedling rather than preserving every plant. Where seedlings tolerate handling and have enough roots, extras may be transplanted, although not every crop responds well to root disturbance.
Succession planting offers a better use for limited space than placing a full season’s plants too closely. Sow a modest block of radishes or salad greens, harvest it, and replant the cleared area. Fast crops can sometimes occupy open ground near a slower crop early in the season, but they must be removed before the larger crop needs the light and root zone. For example, early radishes between young brassicas can work only if the radishes are harvested before broad brassica leaves close over them.
Evaluate the layout when plants approach mature size. A successful arrangement lets most leaves receive light, permits watering and harvest without crushing foliage, and leaves enough visibility to inspect stems and leaf undersides. Warning signs include persistent overlap, damp inner foliage long after outer leaves dry, plants leaning away from neighbors, unusually small heads or roots, and aisles disappearing beneath growth. These signals do not always prove spacing is the sole problem—shade, nutrition, and irrigation can produce similar symptoms—but they justify revising next season’s plan.
Record the variety, actual center-to-center distance, support method, and result. A note such as “caged tomato blocked the 24-inch path” is more useful than writing “tomatoes too close.” Photographs taken at peak growth reveal canopy conflicts that are easy to forget during winter planning. If crowding appears early enough, remove the weakest plant rather than pruning every plant severely to preserve an unrealistic count. Thoughtful correction is part of how to select the right spacing for vegetable crops, because local observation refines general recommendations.
Frequently Asked Questions
Should vegetable spacing be measured from stems or leaf edges?
Measure from the center of one plant to the center of the next. The stated interval anticipates future leaf spread, so measuring between current leaf edges would be inconsistent as plants grow.
Can vegetables be planted closer together in raised beds?
They can often use an offset grid because access paths sit outside the bed. Keep the recommended plant centers unless the variety, early harvest, vertical training, and local conditions justify a modest reduction.
What happens when vegetable plants are spaced too closely?
They may compete for light, water, and nutrients while forming foliage that dries slowly. Likely results include smaller harvests, difficult access, weak inner growth, and greater canopy congestion.
Is wider vegetable spacing always better?
No. Excessively wide gaps waste productive bed area, expose more soil to weeds and evaporation, and may reduce total yield from the space. Stay within a reasonable variety-specific range.
How should seedlings be thinned to the correct distance?
Wait until seedlings are identifiable and established, then retain the strongest plants at measured intervals. Snip extras at soil level if pulling them could damage neighboring roots.
Conclusion
Reliable crop spacing comes from planning for the plant that will fill the bed later, not the seedling visible on planting day. Check the cultivar’s mature habit and intended harvest size, separate plant distance from access-row width, and decide whether the crop will be trellised, caged, or allowed to spread. Use wider intervals where humidity, shade, vigorous soil, or limited maintenance could turn dense foliage into a persistent problem. Mark centers before planting and thin direct-sown rows before competition becomes obvious. During peak growth, photograph canopy overlap and record distances alongside the variety name. Those observations convert a general packet range into a practical spacing record for that specific bed, climate, and growing method.


